
intermediate revamp



- For players who are experienced with the game and want a little challenge.
- ―Gamemode Description
Description
Intermediate mode is one of the four main survival modes. It has 35 waves, and the final boss is Patient Zero. The mode is not named after its final boss.
Cash is only received if an enemy is killed, or in some cases, damaged by a specific amount of health. Additionally, the amount received is a set amount of cash, which is not always equal to the enemy's health. In solo, you receive 100% of the cash when an enemy is killed or it is damaged enough. With each additional player, this decreases by 25%, which means that in a quad, you only get 25% of the cash. This amount is distributed between players based on how much damage they dealt. However, if a player has not dealt any damage, they will receive 12.5% of the enemy's full cash upon its death or when it was damaged enough, regardless of player count. If it is a decimal, it gets rounded up or down depending on the decimal value. If it is at least 0.5, it gets rounded up. If it is less than 0.5, it gets rounded down. For example, the Slime Boss gives 

Rewards
The game calculates how many 


Any rewards that end in a decimal point is rounded down, no matter the first figure of the leading decimal.
Triumphing Intermediate mode can give one of these additional rewards:
- Low Grade Consumable Crate - 25% chance
- Mid Grade Consumable Crate - 10% chance
- Time Scale Tickets - 10% chance
Currently, rewards are calculated as:
| Coins Reward | EXP Reward |
|---|---|
|
Waves Completed × |
Badges
There is a badge that you can obtain when playing this mode, which may have additional rewards alongside the badge. The badge is:


New Attributes
Slime II
Slime II is an attribute similar to Slime, but rather than spawning a Slime upon death, it spawns a Slime Boss. If an enemy has both Slime and Slime II, it will only spawn a Slime Boss upon death and ignore the Slime attribute.
Irreplicable
Irreplicable enemies cannot be transformed into by the Slime or Slime Boss.
Incompatible
Incompatible enemies cannot receive additional attributes on the field - this is important due to the many enemies that now grant attributes to other enemies.
Ignorable
Ignorable enemies are ignored by towers as long as there is another detectable enemy within range.
Leftover
Leftover enemies are not considered for wave auto-skip; the wave will skip even if a Leftover enemy is alive as long as all other enemies are defeated.
Enemy List
 |
 |
 |
 |
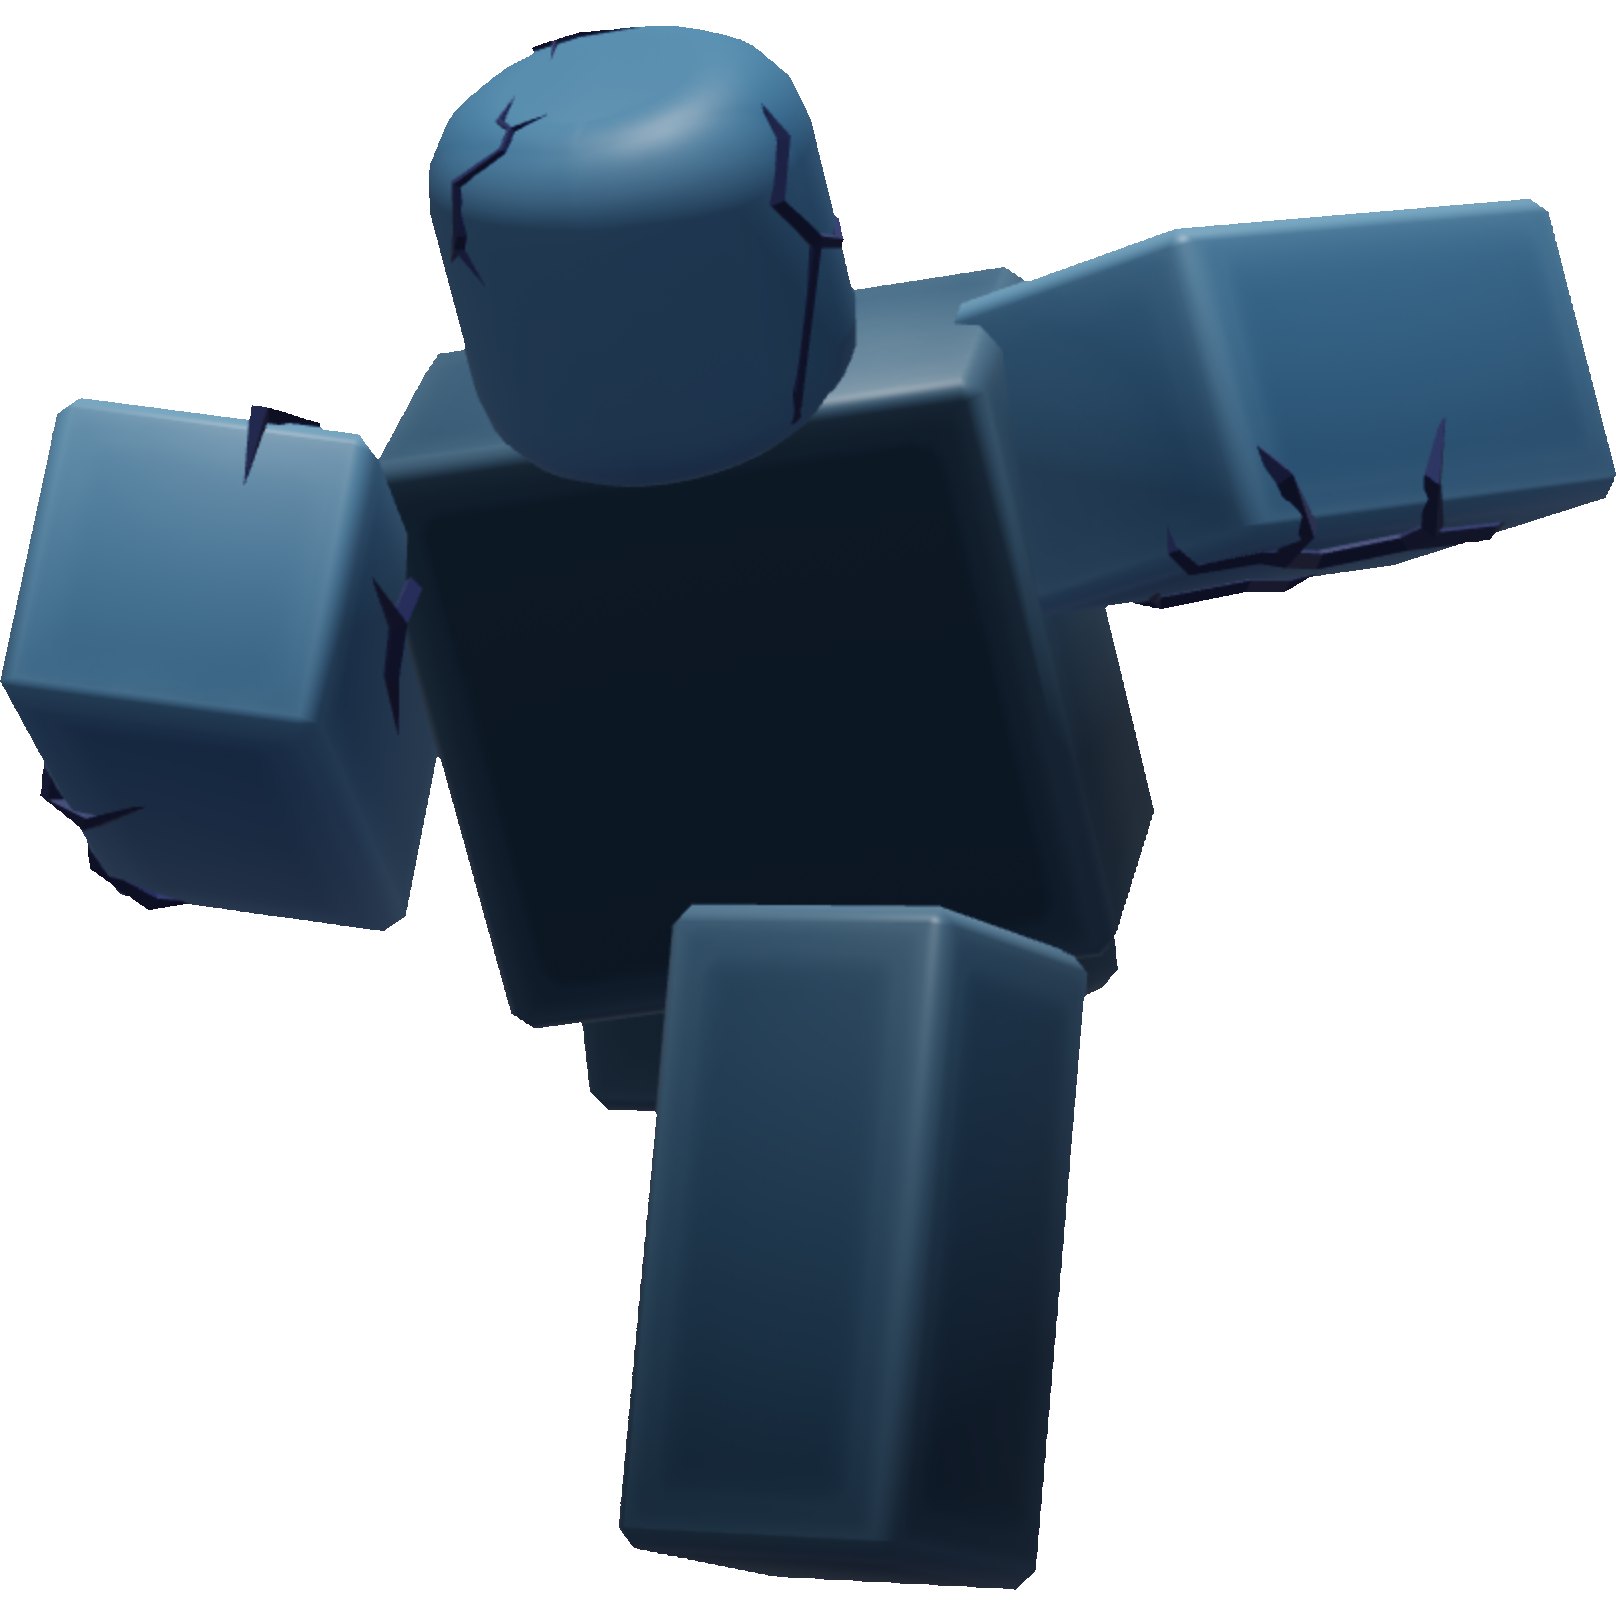
| Abnormal Wave 1 |
Quick Wave 3 |
Heavy Wave 5 |
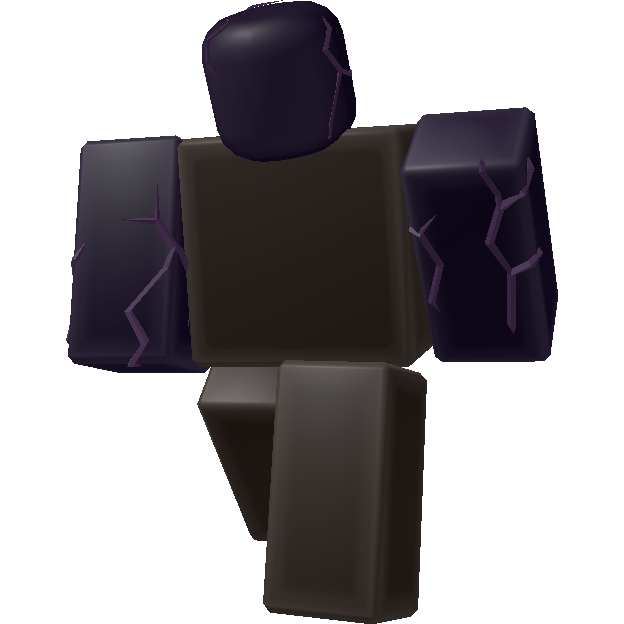
Shadow Wave 7 |
 |
 |
 |
 |
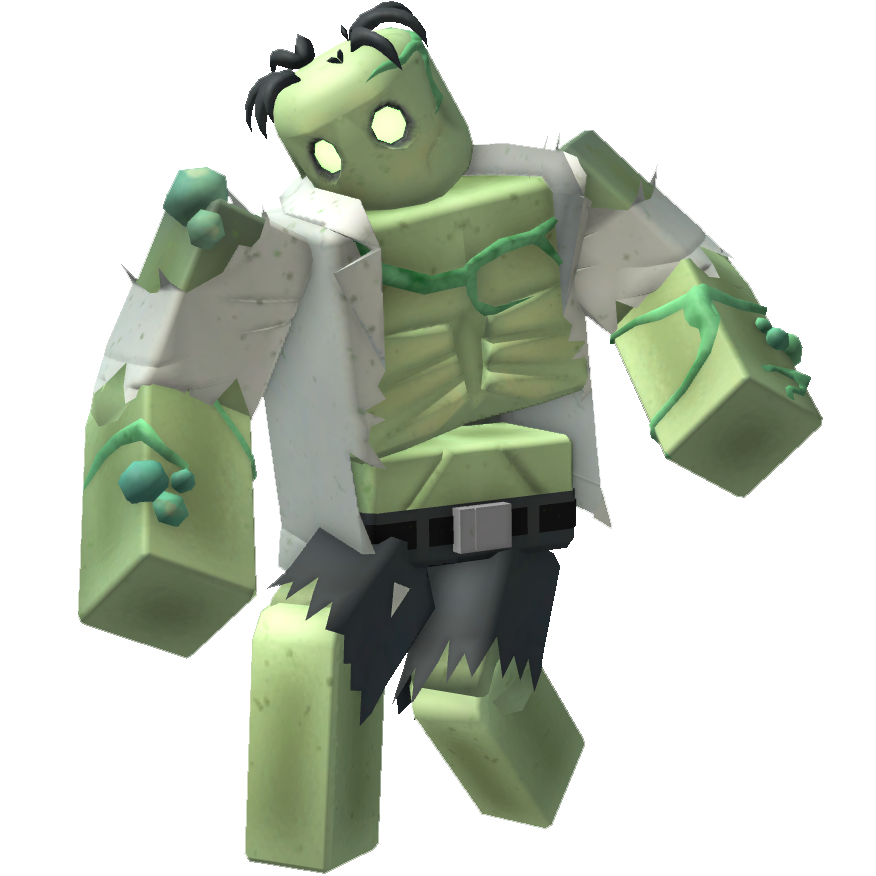
| Ghoul Wave 8 |
Slime Wave 10 |
Enraged Wave 12 |
Armored Wave 13 |
 |
 |
 |
 |
| Reaver Wave 15 |
Necromancer Wave 16 |
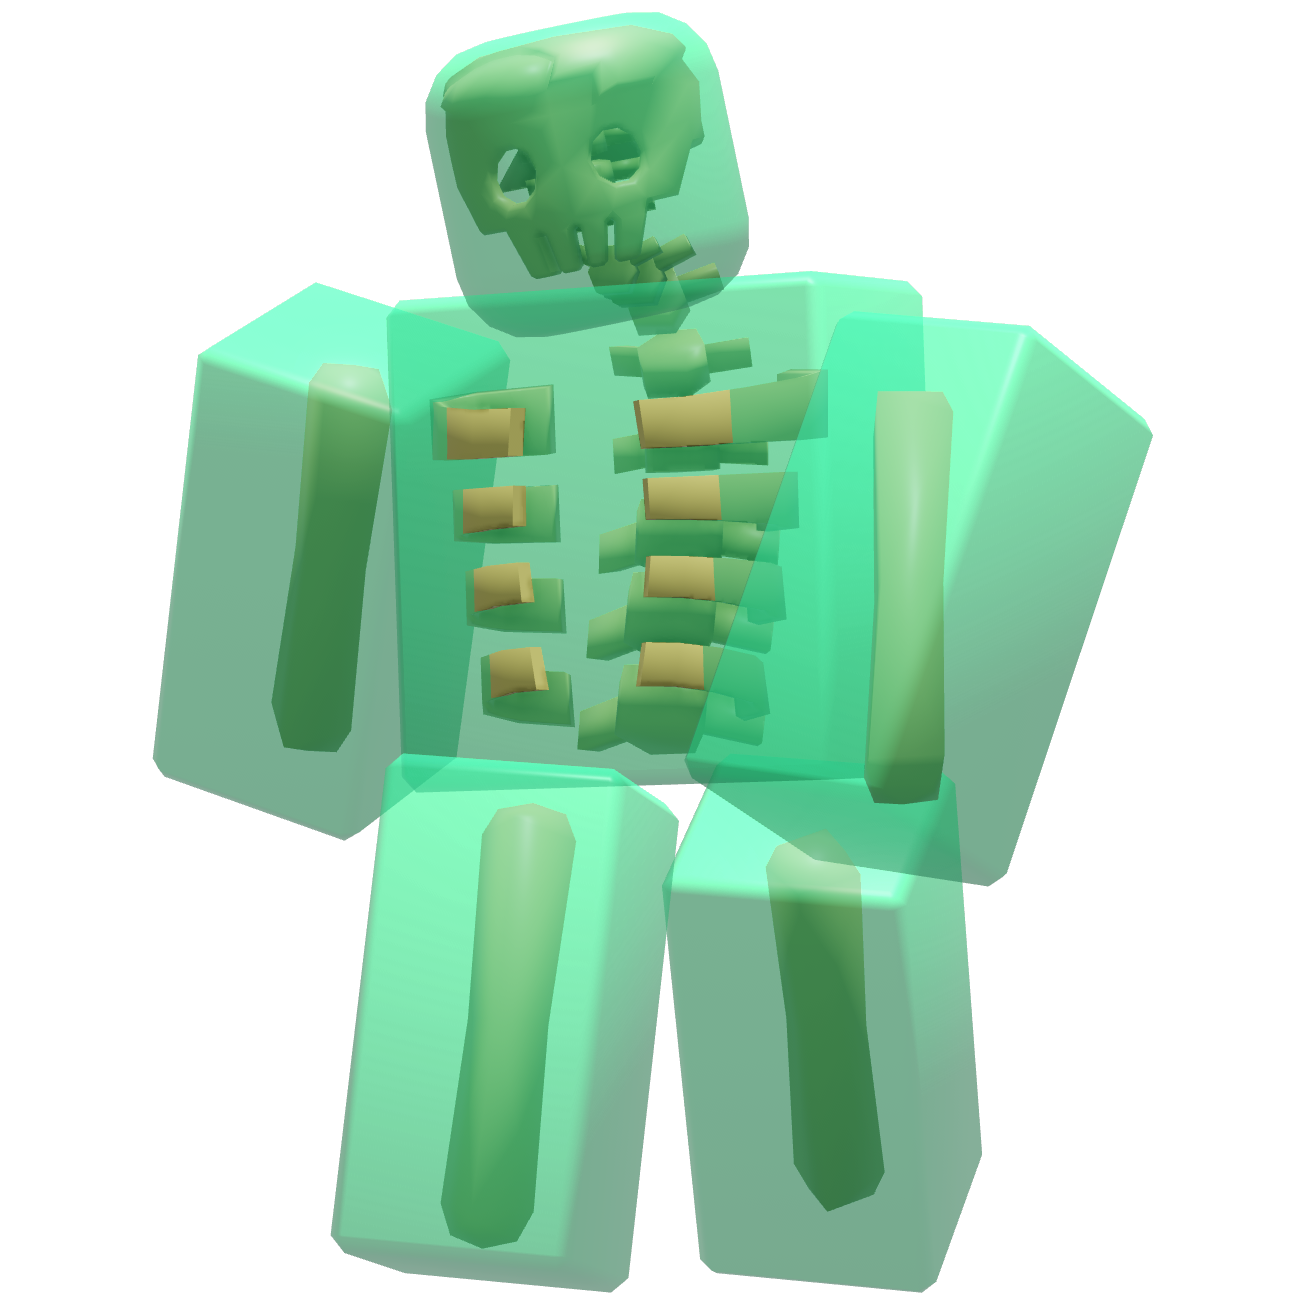
Skeleton N/A[1] |
Shadow Boss Wave 17 |
 |
 |
 |
 |
| Living Experiment Wave 18 |
Hazmat Wave 20 |
Failed Experiment Wave 21 |
Slime Boss Wave 22 |
|
|
|
|
| Assistant In-Charge Wave 25 |
Teleporter N/A[2] |
Test Subject A N/A[3] |
Test Subject B N/A[3] |
|
|
|
|
| Test Subject C N/A[3] |
Assistant A Wave 26 |
Supercharger N/A[4] |
Assistant B Wave 28 |
|
|
|
|
| Buffer N/A[5] |
Assistant C Wave 30 |
Shielder N/A[6] |
Field Mechanic Wave 31 |
|
 |
|
|
| Maintenance Drone N/A[7] |
Patient Zero Wave 35 |
Zero Beacon Alpha N/A[8] |
Zero Beacon Beta N/A[8] |
|
|
|
|
| Zero Beacon Delta N/A[8] |
Zero Beacon Gamma N/A[8] |
Zero Beacon Epsilon N/A[8] |
Zero Beacon Zeta N/A[8] |
| |||
| Zero Beacon Eta N/A[8] |


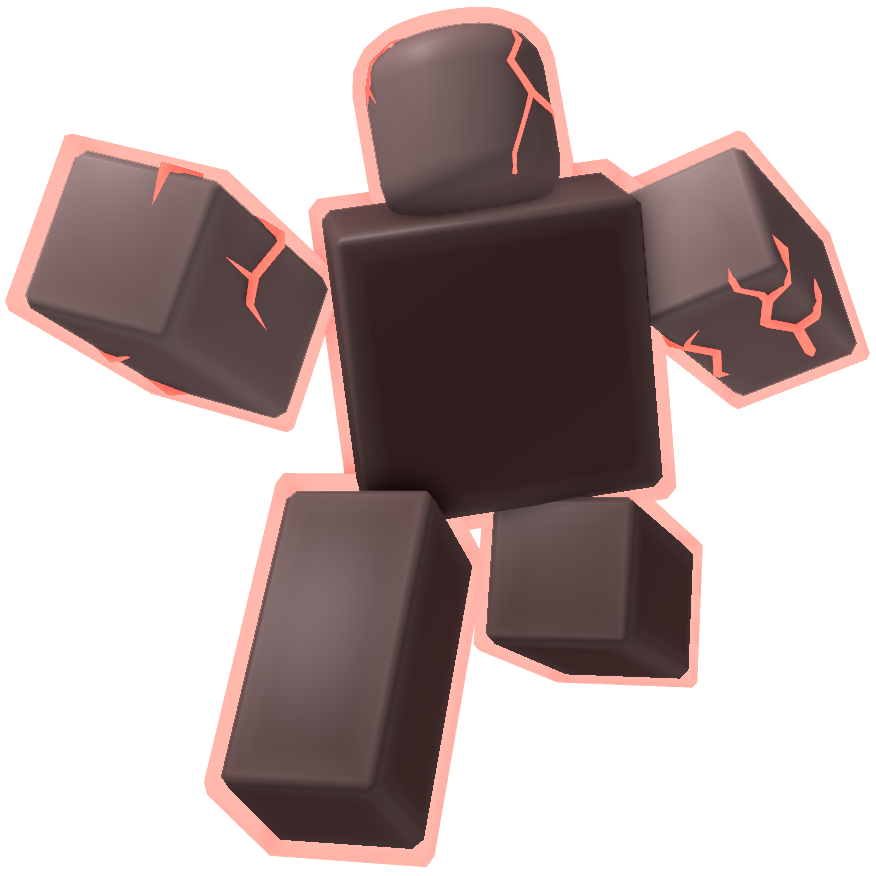





Enemies
This is a comprehensive stat breakdown on all enemies in relation to this mode, omitting any unnecessary info from the original pages.
- Something seems off about these zombies...
Prepare your defenses and be ready for anything! - ―Commander dialogue on Wave 1
Description
The Abnormal is the first enemy that appears in Intermediate mode. Being the first enemy, it has a low amount of health and is not particularly fast. Compared to the Normal, the Abnormal is faster and has more health.
Design Remarks
The Abnormal replaced the Normal from the original Intermediate mode due to issues with balance when trying to accomplish health and cash consistency. Making Normals have 4 HP and give
Abnormals also make thematic sense, having veins all over their bodies, and matching the Commander's reaction to them ('seems off'). Intermediate is on the harder half of the main four modes, so giving them the 'harder' set of enemies makes sense.
| Intermediate | ||
|---|---|---|
| Previous Debut | Current Debut | Next Debut |
| Start N/A |
Abnormal Wave 1 |
Quick Wave 3 |
- Quick enemies coming in fast!
Don't allow them to slip by your defenses! - ―Commander dialogue on Wave 3
Description
The Quick is the second enemy the player faces in the game in Intermediate Mode. It is a frail, yet fast enemy. Compared to the Abnormal, it has the same amount of health while being faster than it.
Design Remarks
The Quick replaces the Speedy due to the same reasons as the Abnormal, but to an even greater degree. Going from 6 HP to 3 HP Speedies would double its count, so this was a much more elegant solution.
I found it awkward how the Speedy debuted on Wave 2, giving Normals little time, so I moved them to Wave 3. I do like Intermediate mode's faster pacing, and later enemies do debut pretty rapidly, especially in the mid game.
The Quick is also the first case of fixing up the Commander's dialogue. The new late game enemies (as well as further grammatical errors) meant his dialogue needed to change drastically and new dialogue had to be made. I also decided that every enemy debut would get dialogue, so enemies with previously no dialogue at all received some.
| Intermediate | ||
|---|---|---|
| Previous Debut | Current Debut | Next Debut |
| Abnormal Wave 1 |
Quick Wave 3 |
Heavy Wave 5 |
- Tankier zombies have already been spotted!
Don't let them scare you; they're tough, but slow. - ―Commander dialogue on Wave 7
Description
The Heavy is a slow enemy that appears in Intermediate mode. In comparison to the Abnormal and Quick, it is quite a tanky enemy. However, it walks much slower than those enemies. The Heavy also has defense, something the Quick and Abnormal do not have.
Design Remarks
Just like the other two early game enemies, the Heavy is here due to consistency needs. Interesting is how even though I intend to make cash given consistent with the enemy's health (with a few exceptions), defense is not factored in. This makes them harder to kill without increasing the cash they drop.
| Intermediate | ||
|---|---|---|
| Previous Debut | Current Debut | Next Debut |
| Quick Wave 3 |
Heavy Wave 5 |
Shadow Wave 7 |
- Hidden zombies are trying to sneak in!
Make sure you have some troops capable of sniffing them out. - ―Commander dialogue on Wave 7
Description
The Shadow is a relatively high health enemy that cannot be attacked by towers without hidden detection. The Shadow has more health than the Quick, Abnormal and Heavy, and is also faster than the latter two. Because of its relatively early debut and because it is hidden, it can quickly become a problem without adequate hidden detection.
Design Remarks
Replacing the Hidden with the Shadow was a no-brainer once I swapped the first three enemies out. However, putting the Shadow this early was definitely a more bold move, putting it before the first 'boss' being the Ghoul. Hidden detection is so widespread now that most hidden enemies are a non-issue, so I felt moving it forward would not spawn too many issues. For more exotic loadouts with towers that struggle against them, say, the Executioner or Ace Pilot, well, I am not so sure. This is definitely a change I am still skeptical on. But bold choices are definitely a theme here, especially with the later, more experimental enemies.
| Intermediate | ||
|---|---|---|
| Previous Debut | Current Debut | Next Debut |
| Heavy Wave 5 |
Shadow Wave 7 |
Ghoul Wave 8 |
- What's going on with that zombie?! It's regenerating!
Take it out quickly before it can heal itself! - ―Commander dialogue on Wave 8
Description
The Ghoul is an enemy that appears in Intermediate mode. It has a decently high health and a below average speed. It regenerates its health every second by 2%, making it quite dangerous. It serves as the first boss of Intermediate mode, and appears often in later waves.
Design Remarks
I dislike the random attribute spam that forms Intermediate mode's wave structure. Thematically appropriate? Sure. Intuitive? Not really. The Ghoul will only get Health Regen and no other attributes, unless it is directly influenced by later enemies.
| Intermediate | ||
|---|---|---|
| Previous Debut | Current Debut | Next Debut |
| Shadow Wave 7 |
Ghoul Wave 8 |
Slime Wave 10 |
- There's some slimes coming towards us! Be sure to take them out before they can transform!
What kind of place did these things come from?! - ―Commander dialogue on Wave 10
Description
The Slime is an enemy that appears in Intermediate mode. It has a decent amount of health and a rather fast speed. Additionally, it is spawned by all enemies that have the slime attribute, with the exception of enemies with both the slime and slime II attributes, where the latter overrides the former. Slimes have the ability to turn into another enemy if not killed in time. The enemy it spawns is the largest non-boss, non-irreplicable enemy currently on the path.
Design Remarks
The Slime is the most important enemy in Intermediate mode. It is what makes Intermediate mode extremely kinetic, scary and challenging, though to an excessive degree, hence the nerf to its ability. However, I still wanted to keep the Slime's impact, which I feel I succeeded in; the Slime received an upgraded variant, the Slime Boss, and an accompanying attribute, slime II, to perform the Slime's role better in the late game. The upgrades to the Failed Experiment and the new late game enemies also help spread the Slime's influence further.
I removed the slime attribute from the Slime for clarity's sake.
| Intermediate | ||
|---|---|---|
| Previous Debut | Current Debut | Next Debut |
| Ghoul Wave 8 |
Slime Wave 10 |
Enraged Wave 12 |
- These zombies are relentless! Their abilities are abnormally enhanced...
Be wary! They're fast and hefty. - ―Commander dialogue on Wave 12
Description
The Enraged is an enemy that appears in Intermediate mode. It has a low amount of health but a very fast speed, making it a sort of equivalent to the Quick in the mid game.
Design Remarks
Little changed about the Enraged except for the removal of haphazard attributes. I also added Commander dialogue for it. Separating this from the Armored in terms of debut wave was moreso just a 'why not' thing.
| Intermediate | ||
|---|---|---|
| Previous Debut | Current Debut | Next Debut |
| Slime Wave 10 |
Enraged Wave 12 |
Armored Wave 13 |
- And now there's armored threats, too!
They have exceptional defense. I would advise using a unit that can melt it away! - ―Commander dialogue on Wave 13
Description
The Armored is an enemy that appears in Intermediate mode. It has decent health, though less than the Ghoul. It makes up for this with a decent speed, as well as an average amount of defense, which makes it take less damage from most sources of damage.
Design Remarks
I decided to nerf it to match its HP value in Easy mode. Along with the new Commander dialogue and lack of attributes, that's about it. I will say it fits a lot better in Intermediate mode than in Easy. I also fully substituted naturally-spawning Skeletons with Armored (along with other enemies).
| Intermediate | ||
|---|---|---|
| Previous Debut | Current Debut | Next Debut |
| Enraged Wave 12 |
Armored Wave 13 |
Reaver Wave 15 |
- Look at the heft of those Reavers!
Those things were created to withstand a ton of firepower! - ―Commander dialogue on Wave 15
Description
The Reaver is an enemy that appears in Intermediate mode. It has quite low health for its debut and average speed, but it makes up for it through its tank attribute, which limits any source of damage to deal only one damage to it, making it quite dangerous.
Design Remarks
The Reaver is probably the enemy in Intermediate mode with the least inherent flaws. I did not change much here, but I did use the tank attribute a bit more for later enemies. I also moved the Necromancer to the following wave, due to the combination of it and the Reaver being a bit too much.
| Intermediate | ||
|---|---|---|
| Previous Debut | Current Debut | Next Debut |
| Armored Wave 13 |
Reaver Wave 15 |
Necromancer Wave 16 |
- Necromancer inbound!
Quick, kill it before it summons anything! - ―Commander dialogue on Wave 19
Description
The Necromancer is a summoner enemy that appears in Intermediate mode. It has high health and an average speed. It has one ability where it uses its staff to summon five Skeletons, which may be hidden. The Necromancer is a dangerous enemy due to its ability to summon hordes of Skeletons to overwhelm a weak defense.
Design Remarks
I do like the Necromancer as an enemy due to its oppressiveness and display of a snowball effect. Annoyingly, however, it has the Health Regen attribute in Intermediate mode, which I removed for consistency, along with a few other changes to make it more intuitive to fight. It is a terrifying force in this mode, especially due to the tanking power of Reavers and new Necromancers spawning from Slimes - arguably too much, so I believe removing the Health Regen attribute is a good thing overall.
| Intermediate | ||
|---|---|---|
| Previous Debut | Current Debut | Next Debut |
| Reaver Wave 15 |
Necromancer Wave 16 |
Shadow Boss Wave 17 |
Description
The Skeleton is an enemy that appears in Intermediate mode, summoned by the Necromancer in groups of five. Summoned Skeletons may also be hidden. Skeletons have decent health and speed, and can overwhelm a weak defense in numbers.
Design Remarks
I made the Skeleton's HP consistent among all maps, that being 55, as 15 HP Skeletons are pitifully weak and dumb the Necromancer down immensely. I also removed the Skeleton's natural spawn with the Living Experiment.
- I hope you didn't forget about the Shadows. There's stronger ones inbound!
If most of your troops have been upgraded to detect them, you should be fine. - ―Commander dialogue on Wave 24
Description
The Shadow Boss is a large and fast enemy that appears in Intermediate mode. It cannot be attacked by towers without hidden detection. Without strong hidden detection, this boss can easily sneak past defenses with little punishment. While it has less health than the Living Experiment, it is quite fast.
Design Remarks
Added, obviously, because the Shadow is here, but also because the Hidden Boss kind of sucks. I even decided to make the Shadow Boss debut earlier to make it a greater threat.
| Intermediate | ||
|---|---|---|
| Previous Debut | Current Debut | Next Debut |
| Necromancer Wave 16 |
Shadow Boss Wave 17 |
Living Experiment Wave 18 |
- Is that a living experiement?! These creatures are definitely being made in a lab somewhere!
Take it out before it heals the enemies around it! - ―Commander dialogue on Wave 18
Description
The Living Experiment is an enemy that appears in Intermediate mode. It has a high amount of health, a below average speed and a decent amount of defense.
Design Remarks
I feel like the TDS team could not get the Living Experiment to actually grant attributes to other enemies, so they just mimicked it by giving enemies the attribute all over the place. Now that is no longer the case, as this rework ignores all technical limitations. This helps the Living Experiment actually do something unique, as well as serve a purpose in the late game where it is no longer the main tanky enemy.
| Intermediate | ||
|---|---|---|
| Previous Debut | Current Debut | Next Debut |
| Shadow Boss Wave 17 |
Living Experiment Wave 18 |
Hazmat Wave 20 |
- Watch out for enemies donning hazmat gear. They're tankier than even the Armored zombies!
While you defend, I'll assemble a team to look into the source of this invasion. Hold the line! - ―Commander dialogue on Wave 18
Description
The Hazmat is an enemy that appears in Intermediate mode. It has a decent amount of health, a slightly fast speed and good defense. Additionally, it has the stun and freeze immunities, making it harder to slow down.
Design Remarks
Like the Armored and Enraged, the Hazmat is just a weak spam enemy, and did not receive any notable changes other than consistency tweaks and a different debut wave. I almost considered removing it due to redundancy, but it was strong enough to keep.
| Intermediate | ||
|---|---|---|
| Previous Debut | Current Debut | Next Debut |
| Living Experiment Wave 18 |
Hazmat Wave 20 |
Failed Experiment Wave 21 |
- It appears our invasion is working...
Are you sure it's a good idea to let ourselves be known...?
Sure, I'm sure! They won't survive for much longer. - ―??? (Patient Zero & Assistant In-Charge) dialogue on Wave 21
Description
The Failed Experiment is an enemy that appears in Intermediate mode. It has a high amount of health and walks at an average speed. Additionally, it always spawns with the slime II attribute, making it spawn a Slime Boss upon death. It also stuns nearby towers on death, similar to the Boomer, and grants nearby enemies the slime attribute on death, making them spawn Slimes when they die.
Design Remarks
Like the Living Experiment, the Failed Experiment would be replaced by greater threats in the late game, so I turned it into a hybrid tank-support enemy. Even though I removed the dialogue of the Commander calling this enemy 'unstable', I still decided to lean into it by making it explode on death. Spreading the slime attribute would ensure slimes are a constant threat and that the Failed Experiment has something to do later on. It also now spawns a Slime Boss, replacing its old slime attribute, which did not do much due to how weak the Slime was by that point.
And, yes, new dialogue is here, starring Patient Zero. I wanted to characterise him as stubborn and mad, which should become more apparent in later dialogue.
Strategy
- High DPS towers, like the Minigunner, Pursuit or Accelerator can be used to deal with the Failed Experiment.
- Slowing towers like the Freezer, Electroshocker and Warden can be used to slow the Failed Experiment down.
- Do note that all freezing and stunning towers will only stall it for a shorter amount of time, due to its large size.
- The Brawler meanwhile, can still knock back this enemy in order to stall it.
- Do note that all freezing and stunning towers will only stall it for a shorter amount of time, due to its large size.
| Intermediate | ||
|---|---|---|
| Previous Debut | Current Debut | Next Debut |
| Hazmat Wave 20 |
Failed Experiment Wave 21 |
Slime Boss Wave 22 |
- They seem to be putting up a good fight...
Not with this many Slimes, they won't! They've been engineered to be flawless shapeshifters.
...right. - ―??? (Patient Zero & Assistant In-Charge) dialogue on Wave 22
Description
The Slime Boss is an enemy that appears in Intermediate mode. It is a stronger version of the Slime, being slower but having more health. Additionally, it is spawned by all enemies that have the slime II attribute. Slime Bosses have the ability to turn into another enemy if not killed in time. The enemy it spawns is the largest non-boss, non-irreplicable enemy currently on the path.
Design Remarks
The Slime, but with more HP so it has a better chance of surviving later on. As stated before, I want to maintain the Slime's role as a dangerous, punishing enemy. The later waves are filled with Slimes and Slime Bosses, partially due to Failed Experiments, and partially due to Test Subject As. The Slime and Slime Boss, most of the time, can turn into any test subject assuming they are all on the field, providing varied threats. Depending on what test subject appears first, however, all Slime Bosses may also turn into the same test subject, which may be any of them, also providing a more varied experience.
One issue Slimes have at base is that when they spawn from the entrance, they all transform at once, making it very punishing and jarring to lose to a sudden, unstoppable horde of Necromancers or Living Experiments or whatever. Hopefully, due to the Slimes mostly appearing by spawning from other enemies now, their transformation time is staggered enough such that it is less common to get overwhelmed.
| Intermediate | ||
|---|---|---|
| Previous Debut | Current Debut | Next Debut |
| Failed Experiment Wave 21 |
Slime Boss Wave 22 |
Assistant In-Charge Wave 25 |
- ...
The Assistant is here! All fire on her! We don't know what she's capable of.
... - ―Assistant In-Charge & Commander dialogue on Wave 25
Description
The Assistant In-Charge is a boss enemy that appears in Intermediate mode, being one of three main bosses in the mode. It has a high amount of health and a slow speed, as well as the boss attribute, granting it protection from several sources of slowdown.
The Assistant In-Charge has multiple abilities. The first ability, Binary Fission, has it summon various enemies, which can be the Ghoul, Reaver or Slime Boss. The second ability is Targeted Injection, a stunning ability that stuns a singular tower, but unlike other stuns which wear off after a few seconds, it renders the tower permanently disabled until the Assistant In-Charge is defeated or the Medic's Cleansing ability is used to cleanse the stun. The ability prioritises the Commander tower, meaning the Assistant In-Charge will target the Commander and stun it first, before moving on to other towers. The third and final ability is Plan Alpha, where on death, the Assistant In-Charge drops a Teleporter. The Teleporter has extremely high health and the tank attribute, among a few other attributes, but does not move. Instead, it constantly spawns either Test Subject A, B or C from it every 10 seconds.
Design Remarks
This enemy kickstarts the true late game of Intermediate mode. I wanted the Assistant In-Charge to leave a long-lasting impact on the game rather than just being a one and done challenge. The Assistant itself is very simple, only having one summon and one stun move - its main purpose is to drop the Teleporter. The slower the Assistant dies, the further it is dropped, and the more dangerous it becomes, introducing a more dynamic element to the mode, one of many I thought of.
In terms of the Assistant as a character, she was the first one I drew and came up with as I really wanted more minibosses in the game that were unique. She would be Patient Zero's inferior Assistant, and later on she was included in dialogue, but it had to be cut down a lot.
| Intermediate | ||
|---|---|---|
| Previous Debut | Current Debut | Next Debut |
| Slime Boss Wave 22 |
Assistant In-Charge Wave 25 |
Assistant A Wave 26 |
- She's down! But... what's that?
Exactly as planned! It was a worthy sacrifice. The Teleporter has been activated!
It's sending some tough units our way! Watch out!
And they'll be even stronger once my little assistants get onto the field... starting here! - ―Commander & Patient Zero dialogue on Wave 25
Description
The Teleporter is a unique, immobile enemy. It has an enormous amount of health along with the tank attribute, which means it will survive many waves without being destroyed. It cannot receive additional attribites from enemies like the Living Experiment and cannot be transformed into by Slimes. It will be ignored by towers unless it is the only enemy within the towers' range. Waves will also still automatically skip even if the Teleporter is alive, as long as all other enemies are killed.
Every 10 seconds, the Teleporter summons either Test Subject A, B or C. Depending on the Teleporter's health, this can go as low as every 3 seconds. The Teleporter is only dropped by the Assistant In-Charge on death.
Design Remarks
There is so much to say about the Teleporter I might not ever finish, so I will try to be brief here. The Teleporter is the new most important enemy in the mode, forming the entirety of the late game as well as the Patient Zero fight by itself. I will explain the new late game ecosystem of Intermediate mode.
The Teleporter spawns in Test Subject enemies, A, B or C, which form the main bulk of the late game. Living Experiment and Failed Experiments grant them the Slime and Health Regen attributes, buffing them. The Buffer, Supercharger and Shielder also do that, and those are dropped by Assistant enemies. These three, as well as the Teleporter itself, are healed by the Field Mechanic's Maintenance Drones, as they cannot receive attributes and therefore cannot be healed by the Living Experiment. Slimes and Slime Bosses can transform into Test Subjects, increasing their numbers. Due to the high HP and tank attribute of the Teleporter, it remains a constant threat and a unique X factor, a unique enemy to target that is separate from every other enemy.
Furthermore, as the Teleporter takes damage, it spawns more enemies, serving as a form of dynamic difficulty. This may initially dissuade the player from wanting to damage the Teleporter, but a more damaged Teleporter ends up causing Patient Zero to spawn more Zero Beacons, which make the fight potentially harder, but challenge the players' skill and leads to a significantly quicker and more satisfying kill if executed well. This was done after I identified the main issue with the Teleporter; damage to it amounts to nothing unless destroyed. After a few hours of iterations, I came up with this final version that also helps make Patient Zero's fight more interesting.
The Teleporter is not meant to be destroyed, but if it is, well...
Description
The Test Subject A is the first of three enemies spawned by the Teleporter. It has a high amount of health and a slow speed, as well as the Slime II attribute, which makes it spawn a Slime Boss on death. Test Subject enemies are spawned by the Teleporter every 10 seconds, but this can go down to as low as every 3 seconds based on the Teleporter's health.
Design Remarks
The Test Subject A, along with the other Test Subject enemies, are the main health of the late game, with every other enemy supporting them in some form, particularly the Assistants, Living Experiments, Failed Experiments and Slimes. Subject A already has the Slime II attribute, making Failed Experiments unable to affect them, but they are still able to be given Health Regen, extra defense, extra health and extra speed very easily.
Test Subject enemies spawn from the Teleporter randomly, which is intentional. This adds the possibility for more varied games to occur depending on what enemies are spawned by the Teleporter, requiring immediate counterplay. This is just one of many variables in the mode to keep rounds as different as I could manage.
Description
The Test Subject B is the second of three enemies spawned by the Teleporter. It has a somewhat high amount of health and a fast speed, as well as the Health Regen attribute, which causes it to regenerate 2% of its maximum health every second. Test Subject enemies are spawned by the Teleporter every 10 seconds, but this can go down to as low as every 3 seconds based on the Teleporter's health.
Design Remarks
The Test Subject B is the fastest of the Test Subjects, as well as the frailest, though it has Health Regen to support it. By default, it will heal 100 HP every second, but this changes if Test Subject B gets granted the Bloated attribute. This does mean that Living Experiments do not buff Tes Subject B, though every other support enemy will.
Due to the varying health of the random spawns of the Teleporter, it would, in theory, cause heavily varying cash drops from the enemies. This is why I had to make it consistent between all three Test Subject enemies.
Description
The Test Subject C is the third of three enemies spawned by the Teleporter. It has a low amount of health and a very slow speed, but has the Tank attribute, greatly improving its survivability. Test Subject enemies are spawned by the Teleporter every 10 seconds, but this can go down to as low as every 3 seconds based on the Teleporter's health.
Design Remarks
The Test Subject C is a unique Test Subject, a late game evolution of the Reaver (attempted in current Intermediate mode by slapping attributes on it). Every support enemy can buff it. This could be the easiest or most difficult Test Subject depending on the overall firerate of a defense, though it is mostly shut down by units. The other Test Subjects, however, can easily tank the damage for it.
Description
The Assistant A is the first of three enemies that drop a buffer on death. It has a low amount of health and a slightly fast speed, as well as the Health Regen attribute. Upon death, the Assistant A will drop a Supercharger, an immobile enemy that grants all enemies that walk over it the Nimble attribute for 8 seconds.
Design Remarks
To maintain and emulate the attribute spam of the regular Intermediate Mode, I added in multiple enemies that grant buffs - the Assistant enemies are the greatest example of this. Assistant A is just a means of dropping the Supercharger, which is immobile, leading to interesting and varied situations depending on where the Supercharger is on the path.
| Intermediate | ||
|---|---|---|
| Previous Debut | Current Debut | Next Debut |
| Assistant In-Charge Wave 25 |
Assistant A Wave 26 |
Assistant B Wave 28 |
Description
The Supercharger is the first of three enemies that are dropped by an Assistant enemy on death. It has a high amount of health and is immobile, as well as the Tank attribute. When an enemy walks over the Supercharger, it gains the Nimble attribute for 8 seconds, increasing its movespeed significantly.
Design Remarks
The Supercharger is the first buffer - very strong, but also the frailest of the buffers. Nimble is a very strong attribute.
Across the mode, only two Superchargers are planned to spawn. Due to the design of the Teleporter, it is likely for these to spawn in front of it and be able to buff the Test Subject enemies, not only playing into the theme, but creating the main bulk of the challenge in the late game.
Description
The Assistant B is the second of three enemies that drop a buffer on death. It has a low amount of health and a slightly fast speed, as well as the Health Regen attribute. Upon death, the Assistant B will drop a Buffer, an immobile enemy that grants all enemies that walk over it the Bloated attribute.
Design Remarks
All the Assistant enemies have the same stats as there is hardly a need for variation. A very early idea was to have Assistants spawn from the Teleporter and Test Subjects to spawn from the entrance, but swapping the two around made a lot more sense.
| Intermediate | ||
|---|---|---|
| Previous Debut | Current Debut | Next Debut |
| Assistant A Wave 26 |
Assistant B Wave 28 |
Assistant C Wave 30 |
Description
The Buffer is the second of three enemies that are dropped by an Assistant enemy on death. It has a very high amount of health and is immobile, as well as the Tank attribute. When an enemy walks over the Buffer, it gains the Bloated attribute for 8 seconds, increasing its maximum health, though it does not increase its current health. The only way to gain the extra health is by the Health Regen attribute.
Design Remarks
I enjoy the concept of the Buffer as it is not immediately threatening, but letting Living Experiments thrive can effectively double enemies' health due to Health Regen filling up the extra health from Bloated. The Buffer is the tankiest of the three buffer enemies. Like the Supercharger but unlike the Shielder, its effects do not stack.
Description
The Assistant C is the third of three enemies that drop a buffer on death. It has a low amount of health and a slightly fast speed, as well as the Health Regen attribute. Upon death, the Assistant C will drop a Shielder, an immobile enemy that grants all enemies that walk over it an extra 40% defense.
Design Remarks
Unlike the other two, the buff granted by the Shielder is not an attribute. I could not find any other attributes to attach to it since they are already taken up by other buffers or other enemies like the Living and Failed Experiments - so defense it was. This encourages the use of defense melting towers, which I would like to see more of in general. This is the last Assistant enemy, spawning on Wave 30, and marking the end game of Intermediate Mode.
| Intermediate | ||
|---|---|---|
| Previous Debut | Current Debut | Next Debut |
| Assistant B Wave 28 |
Assistant C Wave 30 |
Field Mechanic Wave 31 |
Description
The Shielder is the third of three enemies that are dropped by an Assistant enemy on death. It has a very high amount of health and is immobile, as well as the Tank attribute. When an enemy walks over the Shielder, it gains +40% defense. This can stack with existing defense as well as more buffs from another Shielder.
Design Remarks
This is the only buffer that has stacking effects, making the second Shielder still very threatening. This has the potential to give the Test Subject enemies 80% defense. Having these buffers on the path provides unique dynamics and counterplay, like using stalling towers to prevent enemies from reaching the buffers, further emphasised with this one which can stack on top of itself.
Wave Structure
In Intermediate mode, the formula for calculating the wave bonus on each wave is:
- (

The wave clear bonus appears when every enemy from that wave was killed. It is 35% of the wave bonus in solo, while for duo, trio and quad it is 20%.
The waves in Intermediate mode follow these timings:
| Waves | Wave Timer | Skip Time[9] |
|---|---|---|
| 1-7 | 1:00 | 0:19[10] |
| 8 | ∞ | 0:19 |
| 9-17 | 1:00 | 0:19[10] |
| 18 | ∞ | 0:19 |
| 19-24 | 1:00 | 0:19[10] |
| 25 | ∞ | N/A |
| 26-34 | 1:00 | 0:19[10] |
| 35 | ∞ | N/A |
Bolded names indicate an enemy type's debut.
| Wave | Commander Dialogue | Enemy Type & Amount | |
|---|---|---|---|
| 1 |  |
Something seems off about these zombies... | 5x Normal |
 |
Prepare your defenses and be ready for anything! | ||
| 2 | |
Speedy Enemies coming in quick! | 3x Speedy, 7x Normal |
 |
Don't allow them to slip by your defenses! | ||
| 3 | - | 8x Normal, 8x Speedy | |
| 4 |  |
Tankier zombies have already been spotted! | 5x Slow, 8x Normal |
|
Don't let them scare you, they're tough but slow. | ||
| 5 | - | 2x Slow, 15x Normal, 2x Slow | |
| 6 | - | 8x Slow, 10x Speedy | |
| 7 | |
What's going on with that zombie?! Its regenerating! | 8x Normal, 1x Ghoul , 8x Speedy |
 |
Take it out quickly before it can heal itself! | ||
| 8 | - | 15x Speedy, 3x Slow, 1x Ghoul, 3x Slow | |
| 9 | |
Hidden zombies are trying to sneaking in! | 4x Hidden, 10x Slow, 2x Ghoul, 12x Speedy |
|
Make sure you got some units capable of sniffing them out. | ||
| 10 | |
There's some slimes coming towards us! Be sure to take them out before they can transform! | 8x Speedy, 2x Ghoul, 2x Slime, 10x Hidden |
|
What twisted lab did these things come from?! | ||
| 11 | - | 2x Slime , 4x Enraged, 4x Armored, 3x Ghoul | |
| 12 | - | 1x Ghoul, 5x Breaker2, 1x Ghoul, 8x Armored, 8x Slow, 4x Enraged | |
| 13 | |
Something about those Enraged looks off[sic] | 6x Breaker2, 5x Armored , 2x Ghoul, 4x Enraged |
|
Its as if they're not what they seem... Be careful! | ||
| 14 | |
Look at the armor on those reavers! | 1x Reaver, 8x Breaker2 , 6x Armored , 1x Necromancer (Enemies Beta)|Necromancer , 5x Enraged , 2x Ghoul |
|
These things were created to withstand a ton of firepower! | ||
| 15 | - | 10x Enraged , 2x Reaver, 10x Armored, 1x Necromancer, 8x Breaker2 | |
| 16 | |
Is that a living experiement[sic]?! I didn't think they were real! | 40x Skeleton, 10x Armored , 8x Breaker2 , 1x Living Experiment |
|
Take them out before they heal the enemies around them! | ||
 |
These creatures must be made in a lab somewhere... | ||
| 17 | - | 30x Hidden , 4x Reaver , 20x Armored, 3x Slime, 5x Hazmat, 1x Necromancer | |
| 18 | |
Is that a living experiement[sic]?! I didn't think they were real! | 20x Armored , 3x Slime, 12x Enraged , 5x Ghoul, 2x Necromancer |
|
They're[sic] shapshifting[sic] abilities sure are impressive. | ||
| 19 | - | 20x Breaker2, 1x Living Experiment, 7x Hazmat , 4x Reaver , 10x Armored, 2x Necromancer | |
| 20 | |
Those failed experiments look incredibly unstable! | 15x Enraged, 5x Hazmat , 3x Hidden Boss , 6x Hazmat , 10x Breaker2, 1x Failed Experiment |
|
Everything about this operation is incredibly unnatural! | ||
| 21 | - | 3x Hidden Boss, 18x Breaker2, 8x Hazmat , 20x Armored, 2x Necromancer | |
| 22 | |
I've been doing some research on these enemies... | 40x Armored , 1x Hidden Boss, 1x Hidden Boss, 10x Ghoul , 1x Living Experiment , 4x Reaver , 1x Failed Experiment |
|
Everything about them is classified | ||
|
Keep holding them off while I try and get to the bottom of this! | ||
| 23 | - | 20x Hazmat , 3x Hidden Boss, 1x Failed Experiment, 1x Living Experiment , 6x Reaver , 10x Enraged , 3x Necromancer | |
| 24 | |
Hanging in there? Got an update. | 30x Enraged (Attributes#Hidden|Hidden, Attributes#Bloated|Bloated, Attributes#Nimble|Nimble), 10x Enraged (Attributes#Hidden|Hidden, Attributes#Bloated|Bloated), 10x Breaker2 (Attributes#Hidden|Hidden, Attributes#Bloated|Bloated), 6x Reaver (Attributes#Bloated|Bloated, Attributes#Nimble|Nimble), 5x Ghoul , 2x Failed Experiment, 10x Hazmat |
|
According to our data these enemies were all created in a top secret lab. | ||
|
The name of the scientist has been wiped from all records. | ||
|
However I did find mention of someone codenamed 'Patient Zero' | ||
| 25 | - | 2x Failed Experiment, 2x Slime (Attributes#Hidden|Hidden, Attributes#Bloated|Bloated), 3x Hidden Boss, 6x Ghoul , 4x Reaver (Attributes#Hidden|Hidden, Attributes#Bloated|Bloated, Attributes#Nimble|Nimble), 50x Armored (Attributes#Health Regen|Health Regen, Attributes#Bloated|Bloated, Attributes#Slime|Slime), 2x Living Experiment, 4x Necromancer | |
| 26 | |
The enemy is getting desperate! They're throwing everything they have at us! | 5x Living Experiment , 2x Hidden Boss (Attributes#Health Regen|Health Regen, Attributes#Bloated|Bloated, Attributes#Nimble|Nimble, Attributes#Slime|Slime), 1x Failed Experiment, 2x Hidden Boss (Attributes#Health Regen|Health Regen, Attributes#Bloated|Bloated, Attributes#Slime|Slime) 15x Armored (Attributes#Bloated|Bloated, Attributes#Nimble|Nimble), 3x Necromancer |
|
Hold the line while we continue to get to the bottom of this. | ||
| 27 | - | 10x Reaver , 2x Living Experiment , 10x Breaker4 , 12x Ghoul, 15x Breaker2 , 2x Failed Experiment | |
| 28 | |
Got some new intel! | 6x Reaver (Attributes#Health Regen|Health Regen, Attributes#Bloated|Bloated, Attributes#Slime|Slime), 10x Ghoul , 2x Slime (Attributes#Hidden|Hidden, Attributes#Bloated|Bloated), 3x Living Experiment , 10x Breaker4, 2x Necromancer, 4x Hidden Boss |
|
From what we've gathered patient zero wasn't just the first subject... | ||
|
But it also refers to the scientist responsible for the experiments! | ||
|
This whole operation is getting more disturbing by the minute! | ||
| 29 | - | 2x Failed Experiment, 4x Living Experiment , 35x Enraged (Attributes#Health Regen|Health Regen, Attributes#Bloated|Bloated, Attributes#Slime|Slime), 8x Breaker4 , 3x Necromancer(Attributes#Health Regen|Health Regen, Attributes#Bloated|Bloated, Attributes#Slime|Slime), 8x Slime (Attributes#Hidden|Hidden, Attributes#Nimble|Nimble) | |
| 30 | |
Patient Zero is here! | 25x Ghoul, 5x Slime (Attributes#Health Regen|Health Regen, Attributes#Bloated|Bloated, Attributes#Hidden|Hidden), 2x Failed Experiment, 3x Living Experiment , 4x Reaver (Attributes#Health Regen|Health Regen, Attributes#Bloated|Bloated, Attributes#Slime|Slime), 1x Patient Zero |
|
We gotta stop them before they can unleash more of their experiments! | ||


Notes
- ↑ Does not appear naturally, it can only be spawned by the Necromancer.
- ↑ Does not appear naturally, it can only be spawned by the Assistant In-Charge and Patient Zero.
- ↑ 3.0 3.1 3.2 Does not appear naturally, it can only be spawned by the Teleporter.
- ↑ Does not appear naturally, it can only be spawned by the Assistant A.
- ↑ Does not appear naturally, it can only be spawned by the Assistant B.
- ↑ Does not appear naturally, it can only be spawned by the Assistant C.
- ↑ Does not appear naturally, it can only be spawned by the Field Mechanic.
- ↑ 8.0 8.1 8.2 8.3 8.4 8.5 8.6 Does not appear naturally, it can only be spawned by Patient Zero.
- ↑ How long you have to wait before you can skip.
- ↑ 10.0 10.1 10.2 10.3 Skip at 0:40.


| Gamemodes | |
|---|---|
| Survival | Easy Mode • Casual Mode • Intermediate Mode • Molten Mode • Fallen Mode (Hidden Wave) • Frost Mode • Challenge Trials |
| Hardcore | Hardcore Mode • Voidcore Mode |
| Special Maps | Polluted Wasteland II • Badlands II • Pizza Party |
| Sandbox Only | Sandbox Mode • Legacy Molten Mode • Golden Mode • Legacy Fallen Mode |
| Other | Tutorial • Story Mode • PVP |
| Removed | Versus • Pre-MEGA Modes • Legacy Hidden Wave • PVP Test |
| Waves | |
|---|---|
| Survival | Easy Mode • Casual Mode • Intermediate Mode • Molten Mode • Fallen Mode • Frost Mode • Challenge Trials |
| Hardcore | Hardcore Mode • Voidcore Mode |
| Sandbox Only | Golden Mode |
| Special Maps | Polluted Wasteland II • Pizza Party |
| Removed | Pre-MEGA Modes • PVP Test |
| Rewards | |
|---|---|
| Survival | Easy Mode • Casual Mode • Intermediate Mode • Molten Mode • Fallen Mode • Frost Mode |
| Hardcore | Hardcore Mode • Voidcore Mode |
| Special Maps | Polluted Wasteland II • Badlands II • Pizza Party |