
Badlands II

- Face off against the Gunslinger and his gang of desperados in the Badlands!
- ―Special Gamemode Description
Description
Badlands II is a day-time map set in a western desert town. It is the new version of the original Badlands. This map uses its own mode for the wave structure, enemy statistics and rewards. It is a special map, meaning that it can only be played using the special mode Matchmaking. The statue has a level requirement of Level 25 to be used.
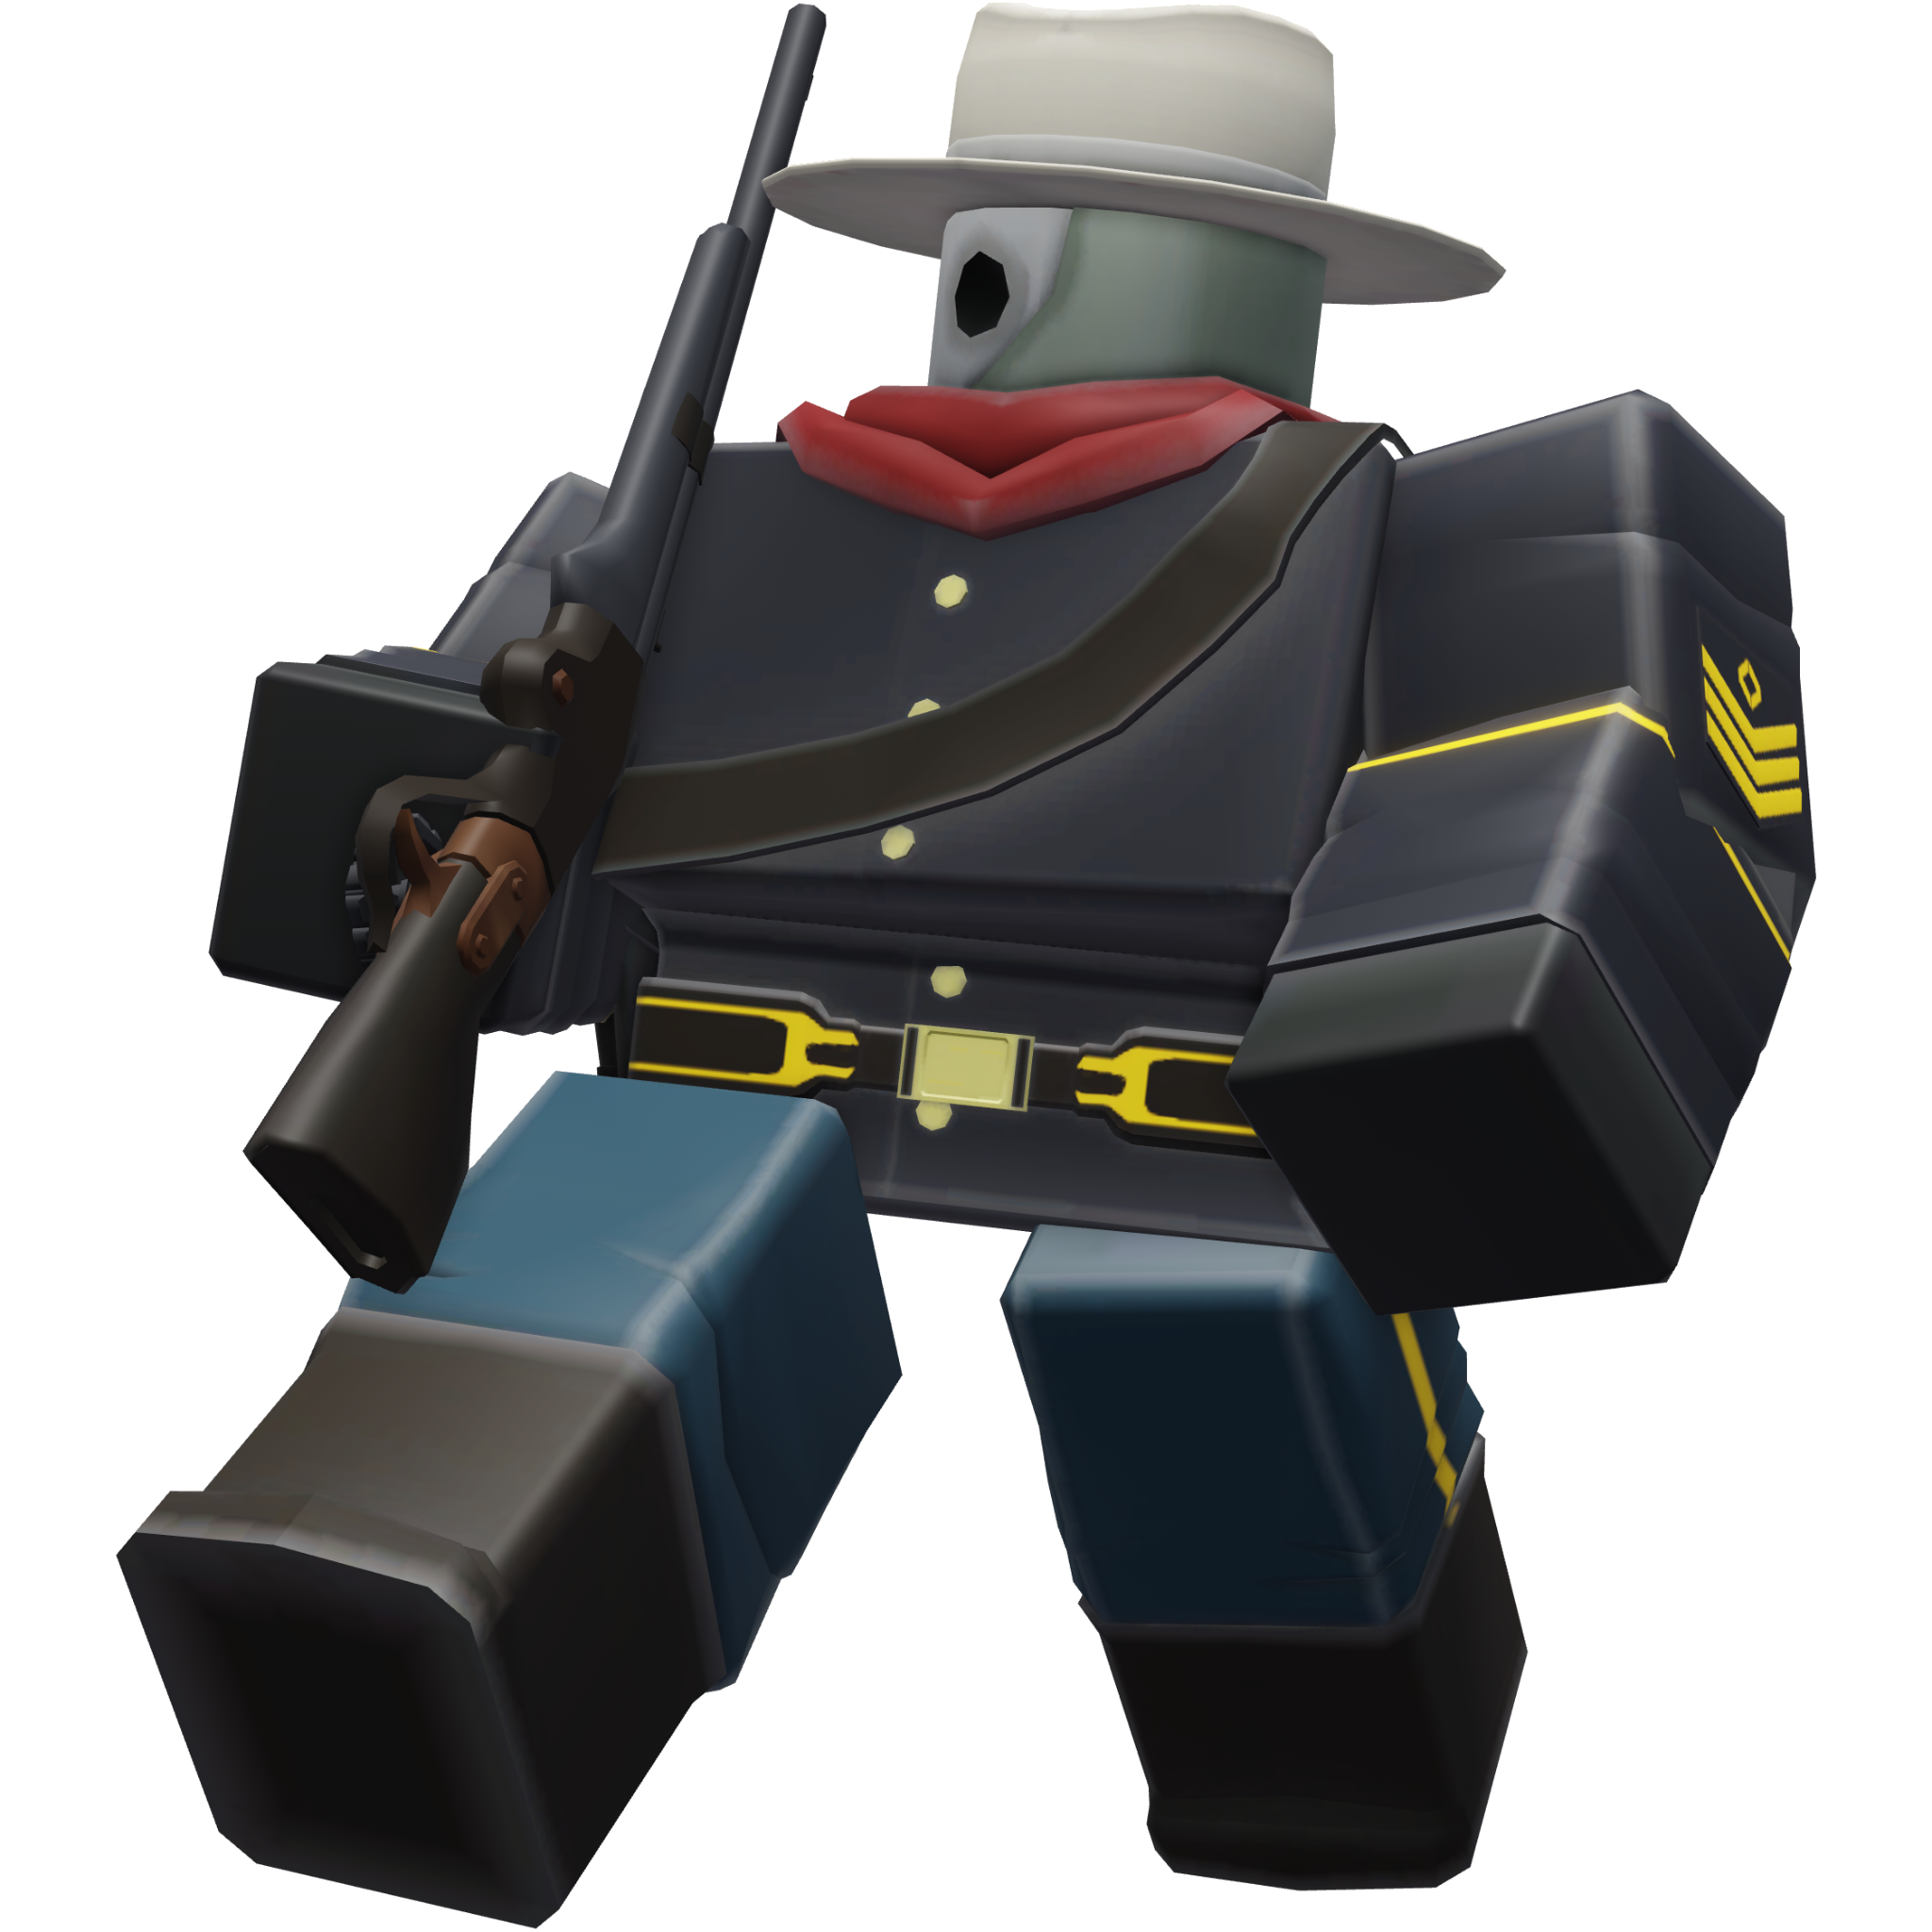
Cash is only gained if an enemy is killed, or in some cases, damaged by a specific amount of health. Additionally, the amount gained is a set amount of cash, which is not always equal to the enemy's health. It uses a slightly different method of distributing cash between players, as enemies split their cash between players, regardless of how much damage the player dealt to it. If, in a duo, one player does all the damage to an enemy, both players will receive 50% of the cash the enemy would normally give in solo. This means that in solo, you receive 100% of the cash when an enemy is killed, or it is damaged enough. With each additional player, this is reduced to 50% in duo, 33% in trio and 25% in quad. For example, the Gunslinger gives 
The health of enemies in this mode scales with the player count, starting at three players. The increase is 10% in trio and 20% in quad. It is applied after attributes, like Bloated, meaning they can affect the health of an enemy.
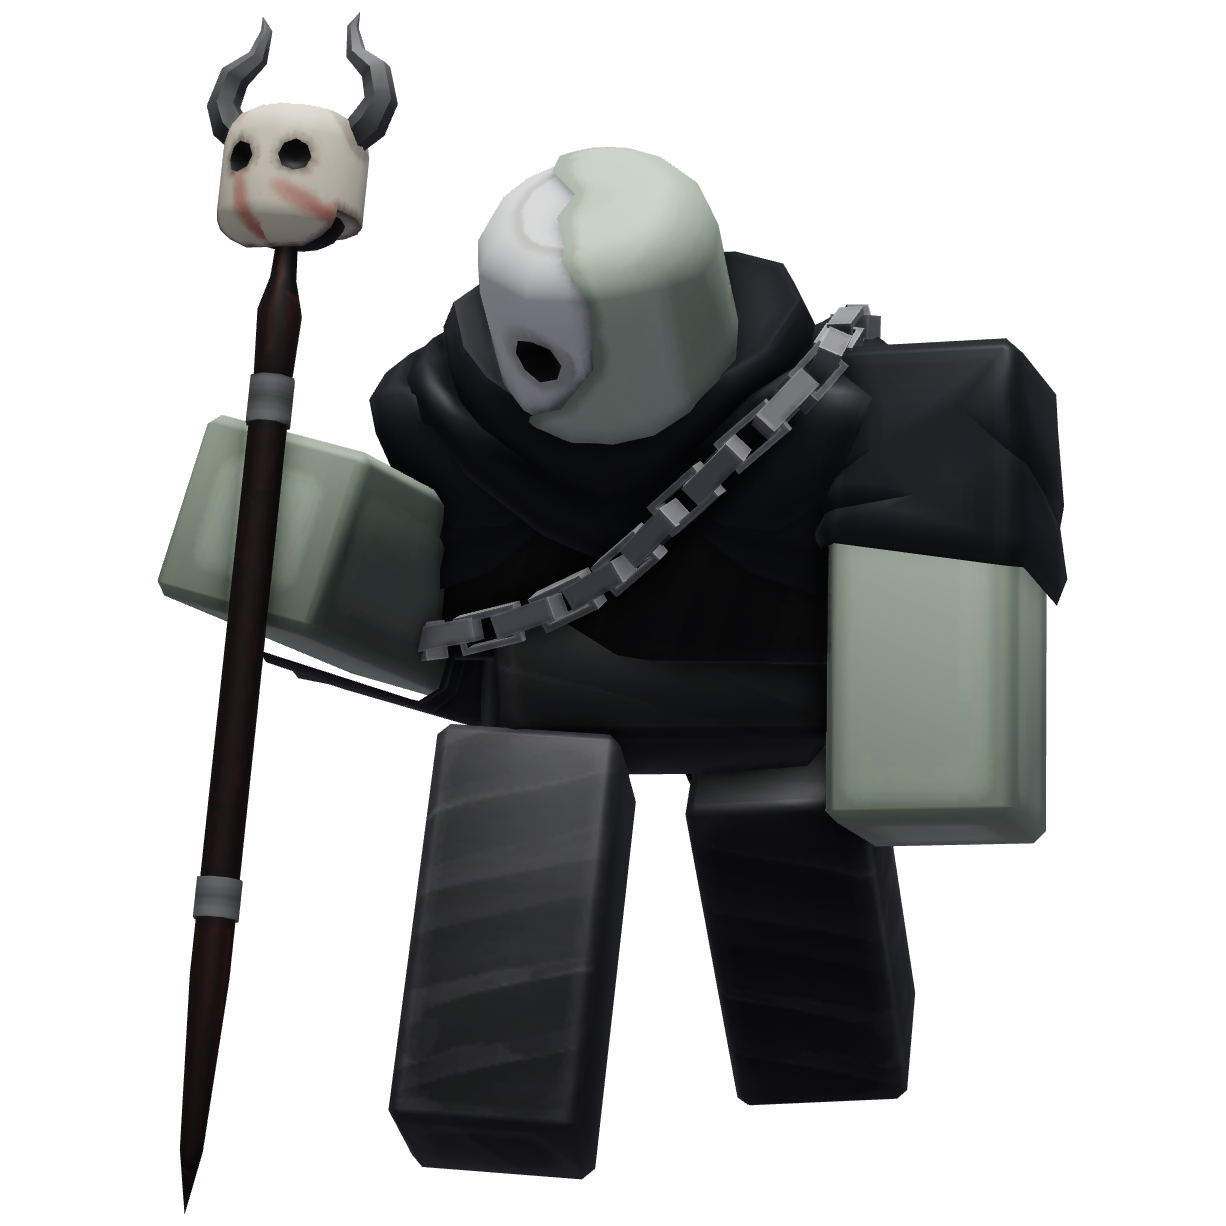
This map has the All Paths, HP Locked, Badlands, Mutation, and Cowboy modifiers that are intended to make the game harder or change the appearance of enemies. The Badlands modifier plays some tracks at the start of Wave 1, 10, 20 and 30, The Mutation increases enemy health by 5% with each wave. The All Paths makes it so enemies are duplicated for each path, instead of alternating between points. As this map has three paths, the amount of enemies is tripled, with a few exceptions, such as the Gunslinger and Cavalry, which either alternate between paths or spawn on set paths. The base health is also set to 200, regardless of the players' Skills, due to the HP Locked modifier. Most enemies, with the exception of the Husk, Undead Miner, Cavalry and Gunslinger will get a cowboy hat due to the Cowboy modifier.
Triumphing this map will grant you the Cowboy tower, which can be bought in the store for 
Design & Path
The map takes place in a Western-themed town. The terrain of this island is mainly sand, with plenty of western-themed buildings, on which you can place cliff towers. Two rail tracks can be found on the ground, with a train on one of them. Multiple entrances to cave mines can be found, with minecart rail tracks leading to them. There is also a destroyed rail track above the city.
This map has three paths, all of them starting at yellow portals and end at cave mine players have to defend. The left path ends at the right cave, the middle path ends at the middle cave and the right path ends at the left cave. The middle path is a straight line, while the other two paths take multiple turns.
Interactive Map
Rewards
For former rewards, see this map's Rewards page.
The game calculates how many 
Any rewards that end in a decimal point are rounded down, no matter the first figure of the leading decimal.
Currently, rewards are calculated as:
| Coins Reward | EXP Reward | Tower EXP Reward |
|---|---|---|
|
|
 |
Triumphing Badlands II can give out an additional reward, which can be a crate, consumable or ticket. These items are:
- Common (47.39%)


- Low Grade Crate
- Barricade (2-4)
- Supply Drop (2-4)
- Turkey Leg (2-4)
- Pumpkin Bomb (2-4)
- Uncommon (28.44%)
- Cooldown Flag (2-4)
- Range Flag (2-4)
- Damage Flag (2-4)
- Mid Grade Crate
- Sugar Rush (2-3)
- Rare (18.96%)
- High Grade Crate
- Napalm Strike (2-3)
- Blizzard Bomb (2-3)
- Unholy Storm (2-3)
- Necromancer's Tome (2-3)
- Legendary (4.74%)
- Custom (0.47%)

Badges/Achievements
There are badges and achievements that you can or could obtain when playing this mode, which may have additional rewards alongside them. These are:

Rewards:
Cowboy
Rewards:
Badlands Cowboy Skin

Rewards:

Rewards:

Seasons
During some Passes, the Badlands II mode could give currency rewards which you used to progress through a season. Rewards for all the seasons were calculated as:
| Season | Rewards |
|---|---|
| Operation I.C.E Battle Pass |  |
| Ducky Revenge Battle Pass |  |
| Surf & Turf Battle Pass |  |
| Null & Void Battle Pass |  |
| The Final Act Battle Pass |  |
| Spring Frenzy Battle Pass |  |
| Solar Requiem Battle Pass |  |
Enemies
 |
 |
 |
 |
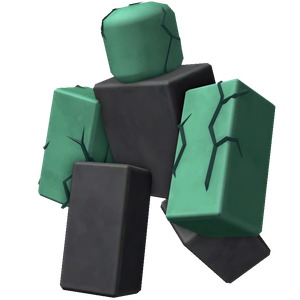
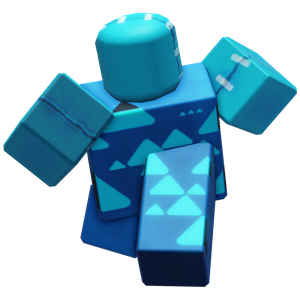
| Abnormal Wave 1 78 Total |
Quick Wave 2 45 Total |
Heavy Wave 4 51 Total |
Skeleton Wave 6 69+ Total[2] |
 |
 |
 |
 |
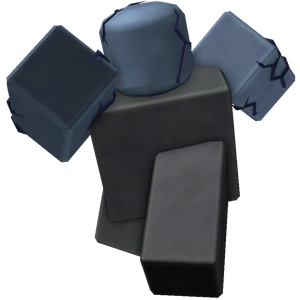
| Elite Abnormal Wave 8 39 Total |
Corpse N/A[3] 6 Total |
Fallen Skeleton Wave 10 93 Total |
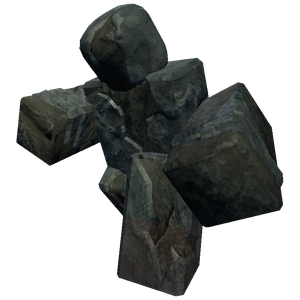
Breaker2 Wave 11 408 Total |
 |
 |
 |
 |
| Breaker Wave 21[4] 418 Total |
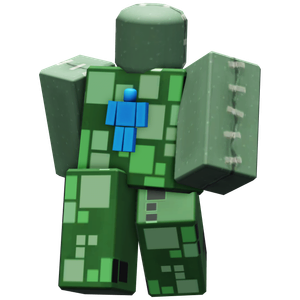
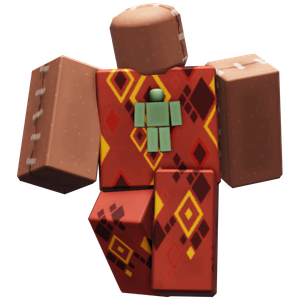
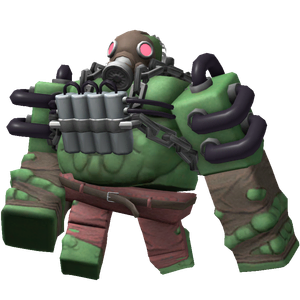
Husk Wave 13 84 Total |
Giant Skeleton Wave 15 51+ Total[5] |
Necromancer Wave 16 27+ Total[5] |
 |
 |
 |
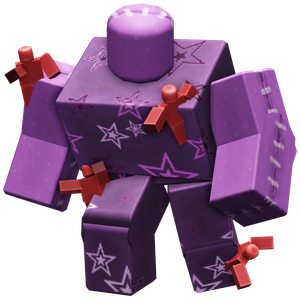 |
| Withered Wave 18 150 Total |
Undead Miner Wave 20 60 Total |
Breaker3 Wave 21 240 Total |
Breaker4 Wave 21 72 Total |
 |
 |
 |
 |
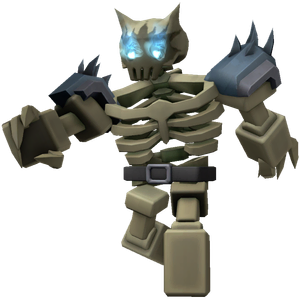
| Necrotic Skeleton Wave 22 66 Total |
Tanker Wave 24 15 Total |
Cavalry Wave 25 17 Total |
Conjurer Wave 27 9 Total |
 | |||
| Gunslinger Wave 30 1 Total |
Wave Structure
Currently, Badlands II has multiple wave bonuses, based on the current wave. Between waves 1 to 10, the wave bonus is calculated as:

Between waves 11 to 15, the wave bonus is calculated as:
Between waves 16 to 20, the wave bonus is calculated as:
Between waves 21 to 30, the wave bonus is calculated as:
Depending on player count, the wave bonus is reduced using multipliers. These multipliers are:
| Players | Reduction per Player | Total Reduction |
|---|---|---|
| Solo | 0% | 0% |
| Duo | 5% | 10% |
| Trio | 5% | 15% |
| Quad | 10% | 40% |
The wave clear bonus appears when every enemy from that wave was killed. It is 35% of the wave bonus in solo, while for duo, trio and quad it is 20%.
Prior to 5th of February 2025, the formula for calculating the wave bonus was:
- (
The wave clear bonus appears when every enemy from that wave was killed. It is 35% of the wave bonus in solo, while for duo, trio and quad it is 20%.
Before 23rd of May 2024, the formula for calculating wave bonus on each wave was:
- (
The waves in Badlands II follow these timings:
| Waves | Wave Timer | Skip Time[6] |
|---|---|---|
| 1-9 | 1:00 | 0:20[7] |
| 10 | 1:15 | 0:25[8] |
| 11-19 | 1:15 | 0:20[9] |
| 20 | 1:30 | 0:30[10] |
| 21-29 | 1:30 | 0:20[11] |
| 30 | ∞ | N/A |
Bolded names indicate an enemy type's debut. Prior to the 31st of October 2022, Fallen mode dialogue used to play. However, this is no longer the case.


Strategy
- It is recommended to place your towers near the middle section of the map, as it covers most of the map's path.
- Early on, if you are not trying to get the Quickdraw! badge, you can place towers near the point where all the paths intersect to handle all the paths easily, even though they may not cover much of the map.
- As many enemies spawn in this map that with waves get increased health, high DPS towers like Accelerator, Engineer or Golden Minigunner are recommended for late game.
- They are also recommended as the Gunslinger travels quite fast and requires high DPS towers in order to defeat it before it reaches the exit.
- Because of how many enemies spawn here, area of effect towers like the Golden Pyromancer, Rocketeer and Mortar are highly recommended.
- Slowing towers like the Sledger or Electroshocker may also be useful at slowing down enemies.
- High DPS towers with splash damage capabilities, such as the Pursuit, Ranger or Engineer can also be helpful.
- Support towers, such as the Commander, DJ Booth and Medic are necessary due to how dangerous the waves can get.
- The Cowboy and Golden Cowboy can be quite useful at making money here, due to enemies spawning thrice and them gaining health with the Mutation modifier.
- If you want the Quickdraw! badge, it is recommended to have a good strategy, since it is only obtained by beating this map in less than 16 minutes, which is quite a challenge.
- Teamwork is essential for this badge. Playing with random players is unlikely to make you get it.
- If you are trying to get the Quickdraw! badge, early on you should place down towers that can quickly kill the enemies, such as the Trapper, Electroshocker, Golden Pyromancer, Shotgunner or Golden Crook Boss, near all the entrances.
- If you have it, you may use the Nuke to clear out the enemies on Wave 30 so that your towers can focus on the Gunslinger.
Gallery
Map Icons
-
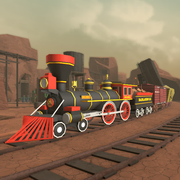 First icon (30 September 2022 - 21 June 2024)

Thumbnails
-
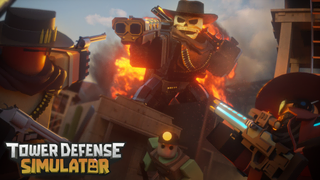 Badlands II on the game thumbnail.

Icons
-
 Badlands II on the game thumbnail.

Promotional Images
-
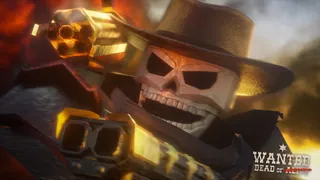 Badlands II on a promotional image.
 -
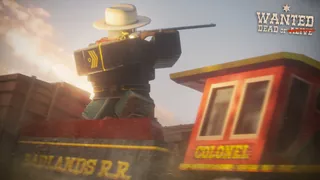 Badlands II on a promotional image.
 -
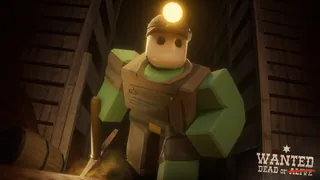 Badlands II on a promotional image.
 -
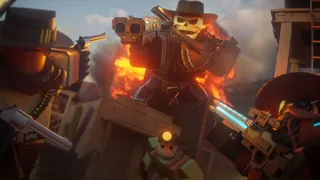 Badlands II on a promotional image.
 -
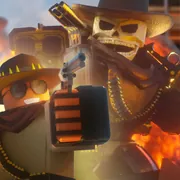 Badlands II on a promotional image.


Promotional Videos
-
Badlands II in a promotional video.
-
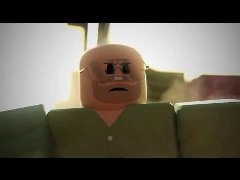
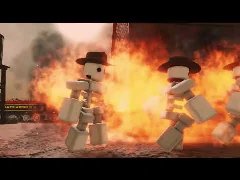
Badlands II on a promotional video.
Trailers
-
Badlands II in the game trailer.













Badges
Trivia
- This is the second map to have three paths, with the first being Totality Tower.
- It is also the first survival map to have three paths.
- This map ties with Pizza Party for the highest number of modifiers, at five.
- At the beginning of Waves 1, 10, 20 and 30, a random Intro soundtrack is chosen to play, after which the ambience or final wave music will play.
- As there are only three intros and four waves they play on, some intro soundtracks would play multiple times, though they are currently bugged and all play at once.
Update History
- 30 September 2022 - v1.4.0
- Badlands II added, directly replacing the Badlands Map.
- Bug: Badlands II matches may sometimes have more than 4 players when starting a match using Matchmaking.
- 31 October 2022 - v1.4.2
- Commander dialogue removed.
- 10 May 2024 - v1.21.0
- Bug: Badlands II is not working correctly.
- 11 May 2024 - v1.21.2
- Bugfix: Badlands II now works correctly.
- 23 May 2024 - v1.23.0
- Updated to the new challenge map system.
- Bug: No longer gives the

- Bug: Modifiers are applied twice.
- Bug: No longer gives any badges upon triumphing.
- Bug: No longer unlocks the ability to purchase the Cowboy upon triumphing.
- Bug: Commander's dialogue for Fallen Mode now appears.
- 27 May 2024 - v1.23.2
- Bugfix: Badges are now obtainable.
- Bugfix: Cowboy is now unlockable.
- 27 May 2024 - v1.23.2a
- Bugfix: Modifiers no longer apply twice.
- 31 May 2024 - v1.23.5
- Bugfix: Now gives the
- Bugfix: Now gives the
- 21 June 2024 - v1.25.0
- Updated icon.
- 2 August 2024 - v1.27.0
- Bugfix: No longer has any dialogue.
- 13 November 2024 - v1.41.0
- 13 November 2024 - v1.41.2
- Bugfix: Badlands II no longer appears in normal Elevators.
- 16 December 2024 - v1.46.0
- Enemies Beta removed.
- Bug: Restarting removes all modifiers.
- Bug: All wave intros play at once.
- Bug: When activated in Sandbox mode, the mode is set to Intermediate mode instead of legacy Fallen mode.
- 22 January 2025 - v1.50.0
- Legacy added.
- 5 February 2025 - v1.52.0
- Wave structure changed.
- Now moved over to its own mode instead of using the Challenge Maps system to alter legacy Fallen mode.
- Updated rewards.
- Bonus triumph rewards added
- Now has a 47.39% chance to give out one of these Common items:
- Low Grade Crate
- Barricade (3-6)
- Supply Drop (2-6)
- Fruit Cake (3-6)
- Now has a 28.44% chance to give out one of these Uncommon items:
- Cooldown Flag (2-6)
- Range Flag (3-6)
- Damage Flag (3-6)
- Mid Grade Crate
- Now has a 18.96% chance to give out one of these Rare items:
- High Grade Crate
- Napalm Strike (3-5)
- Blizzard Bomb (3-5)
- Now has a 4.74% chance to give out one of these Legendary items:
- Now has a 0.47% chance to give out one of these Custom items:
- Now has a 47.39% chance to give out one of these Common items:
- Now uses the new income system with slight changes. Enemies now always give the same amount of cash on death, regardless of how much damage the player deals, but the amount is split between players, meaning in solo, an enemy gives 100% of its cash, 50% in duo, 33% in trio and 25% in quad.
- Health scaling added, set to 10% in trio and 20% in quad.
- Starting cash increased from
- Mode type is now displayed as Special.
- Bug: Final wave music no longer plays.
- Legacy removed.
- 12 February 2025 - v1.53.0
- Quickdraw time requirement decreased from 18 to 16 minutes.
- 5 March 2025 - v1.56.0
- Bug: Still gives the Fruit Cake, when it should be unobtainable from mode triumphs.
- 18 October 2025 - v1.77.0
- Updated bonus triumph rewards.
- Fruit Cake removed from the reward pool.
- Common rewards now also include the Turkey Leg (3-6) and Pumpkin Bomb (3-6).
- Uncommon rewards now also include the Sugar Rush (3-5).
- Rare rewards now also include the Unholy Storm (3-5) and Necromancer's Tome (3-5).
- Updated bonus triumph rewards.
- 5 June 2026 - v2.0.0
- Wave skip on Wave 10 and 20 now appears after one third of the wave has passed instead of after 20 seconds.
- Now gives tower experience, with a

- 6 June 2026 - v2.0.3
- None of the modifiers apply their reward boosts anymore.
- 19 June 2026 - v2.1.0
- Bugfix: Final wave music now plays.
- 17 July 2026 - v2.3.0
- Updated reward equations.
- Base coins reward decreased from

- Triumph bonus increased from
- Coins exponential value increased from 1.3 to 3.
- Exp triumph bonus increased from
- Base coins reward decreased from
- Updated reward equations.
Notes
- ↑ Before 18th of December 2024, the rewards were

- ↑ Number is natural spawns. Number can be exceeded if spawned by the Necromancer.
- ↑ Does not appear naturally, it can only be spawned by killing enemies with the Corpse attribute.
- ↑ Appears naturally on Wave 21, but can be spawned earlier by the Breaker2.
- ↑ 5.0 5.1 Number is natural spawns. Number can be exceeded if spawned by the Conjurer.
- ↑ How long you have to wait before you can skip.
- ↑ Skip at 0:40.
- ↑ Skip at 0:50.
- ↑ Skip at 0:55.
- ↑ Skip at 1:00.
- ↑ Skip at 1:10.


| PVP | ||
|---|---|---|
| Easy | Crash Course • Judging Hall • Laser Stadium • Warm Land | |
| Normal | Desert Oasis • Distant Shapes • Opulent Remains | |
| Sandbox Mode | ||
|---|---|---|
| Hard | Classic Candy Cane Lane • Classic Castle • Classic Forest Camp • Classic Island Chaos • Classic Winter | |
| Insane | Badlands • Rotfield | |
| Special | Dev • Headache Headquarters | |
| Story Exclusive | ||
|---|---|---|
| Easy | Abandoned City | |
| Normal | Severing Connection • Tutorial | |
| Removed | ||
|---|---|---|
| Undefined | Candy Cane Lane • Doomspire • Island Chaos • Subzero • Castle • Mount Amillion • End of the Line • Canyon • Castle Outskirts • Candy Valley • Fungi Forest • Freight Fright • Graveyard • Winter • Robloxia • Ancient Colosseum • Highlands • Voidlands • PVP | |
| Easy | PVP_1 • PVP_2 • PVP_3 • PVP_4 • PVP_5 • PVP_6 • PVP_7 • PVP_8 • PVP_9 • PVP_10 • PVP_11 | |
| Hard | Polluted Wasteland • Nightmare Carnival | |
| Unreleased | ||
|---|---|---|
| Undefined | Backwoods • Battlefront • Castle Outskirts • Dusty Ruins • Fogged Lair • Fraction Zone • Gingerbread Town • Hallows Ville • Mars • Petulance Ground • Pumpkin Patch • PVP_11 • PVP_3 • PVP_6 • PVP_8 • PVP_9 • Unknown Castle Map • Unreleased Halloween 2020 Map • Unreleased Tournament Map • Waste Ground • Weepers Gaol • Winterfall • WIP City | |