Challenge Trials
Description
Challenge Trials is a difficult mode that can only be played through Matchmaking. It has a requirement of Level 40. The main gimmick of the mode is that every three hours, a different trial starts, which has a new modifier, map, and rewards. Upon successful triumph of this mode, the modifier that was active on that mode would be given to players to use on any match if this was their first time completing the trial for that modifier.
Cash is only gained if an enemy is killed, or in some cases, damaged by a specific amount of health. Additionally, the amount gained is a set amount of cash, which is not always equal to the enemy's health. It uses a slightly different method of distributing cash between players, as enemies split their cash between players, regardless of how much damage the player dealt to it. If, in a duo, one player does all the damage to an enemy, both players will receive 50% of the cash the enemy would normally give in solo. This means that in solo, you receive 100% of the cash when an enemy is killed, or it is damaged enough. With each additional player, this is reduced to 50% in duo, 33% in trio and 25% in quad. If it is a decimal, it gets rounded up or down depending on the decimal value. If it is at least 0.5, it gets rounded up. If it is less than 0.5, it gets rounded down.
The health of enemies in this mode scales with the player count, starting at two players. The increase is 10% in duo, 25% in trio and 40% in quad. It is applied after attributes, like Bloated, meaning they can affect the health of an enemy. The increase is not always the stated amount.
Consumables and Time Scale are both disabled on this mode regardless of the current modifier. However, Skills are enabled across all modifiers on this mode.
Trials
Challenge Trials have a unique mechanic of having a specific modifier be applied every three hours to it, which on top of what is stated dictates other things like if Skills are enabled or what map it is on. The following trials are available in this order:
- Speedy Enemies, all enemies are Nimble, map set to Wrecked Battlefield and Skills are enabled.
- Glass, base health is set to 1, map set to Stained Temple and Skills are enabled.
- Quarantine, increases placement footprint of towers by 10, map set to Dusty Bridges and Skills are enabled.
- Fog, tower range is reduced by 35%, map set to Winter Abyss and Skills are enabled.
- Limitation Makes Creativity, tower placement limits are decreased by 50%, map set to Coral Deep and Skills are enabled.
- Flying Enemies, all enemies become Flying after Wave 5, map set to Sacred Mountains and Skills are enabled.
- Jailed Towers, a tower type is jailed every wave after Wave 5, map set to Night Station and Skills are enabled.
- Exploding Enemies, enemies explode on death, map set to Wrecked Battlefield II and Skills are enabled.
- Inflation, all prices are increased by 50%, map set to Cyber City and Skills are enabled.
- Committed, towers cannot be sold, map set to Retro Zone and Skills are enabled.
- Hidden Enemies, all enemies become Hidden after Wave 5, map set to Forgetten Docks and Skills are enabled.
- Broke, income is reduced by 50%, map set to Medieval Times and Skills are enabled.
- Healthy Enemies, all enemies are Bloated, map set to Four Seasons and Skills are enabled.
- After this, the order is repeated starting from the first trial in this list.
Rewards
Rewards are only given out on triumph, which means losing on any wave gives 
Rewards on the each trial are:
| Challenge | Rewards |
|---|---|
| Speedy Enemies |   |
| Glass | |
| Quarantine | |
| Fog | |
| Limitation Makes Creativity | |
| Flying Enemies | |
| Jailed Towers | |
| Exploding Enemies | |
| Inflation | |
| Committed | |
| Hidden Enemies | |
| Broke | |
| Healthy Enemies | |
Seasons
During some Passes, Challenge Trials could give currency rewards that you used to progress through a season. Rewards for all the seasons were calculated as:
| Season | Rewards |
|---|---|
| Null & Void Event |  |
| The Final Act Event |  |
| Spring Frenzy Battle Pass |  |
| Solar Requiem Battle Pass |
Enemies
 |
 |
 |
 |
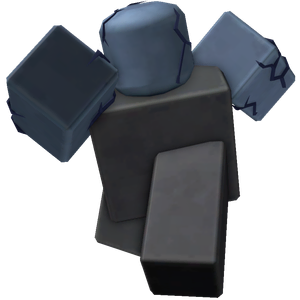
| Abnormal Wave 1 33 Total |
Quick Wave 3 24 Total |
Heavy Wave 5 48 Total |
Elite Abnormal Wave 7 15 Total |
 |
 |
 |
 |
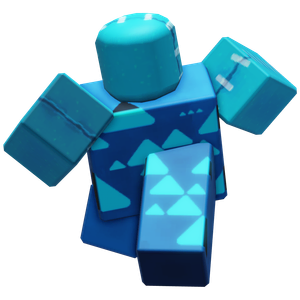
| Breaker2 Wave 10 259 Total |
Breaker N/A[1] 259 Total |
Armored Wave 11 41 Total |
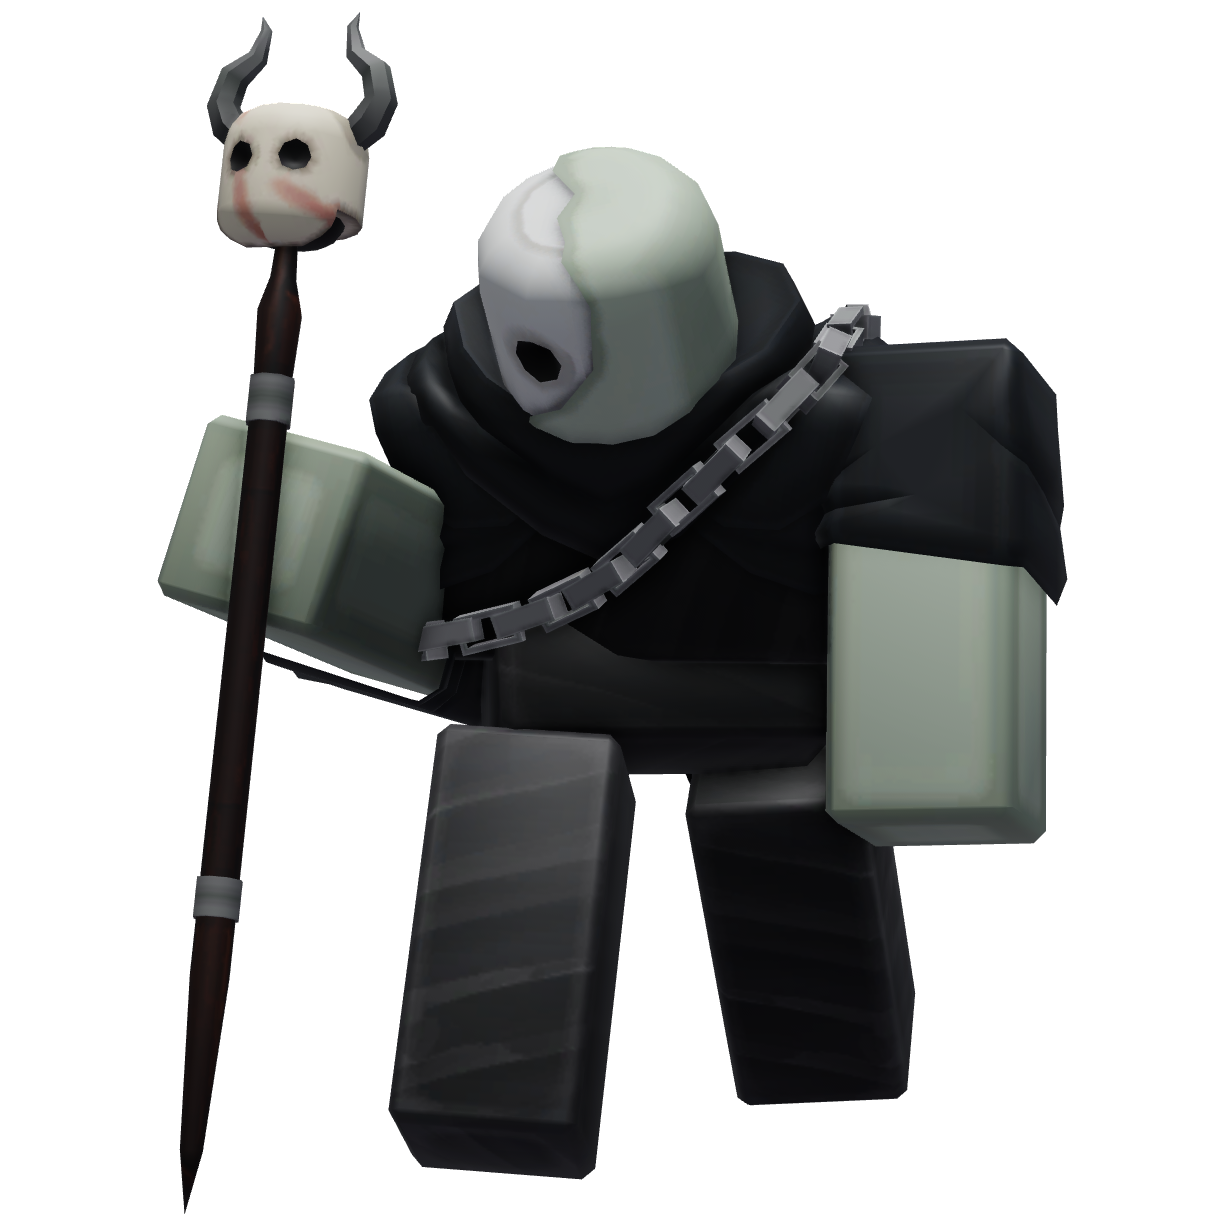
Necromancer Wave 12 17 Total |
 |
 |
 |
 |
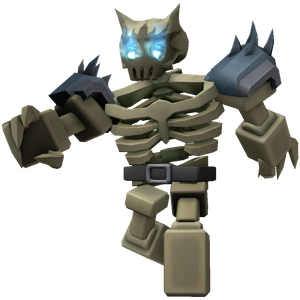
| Skeleton N/A[2] N/A Total |
Bolt Wave 13 40+ Total[3] |
Living Experiment Wave 15 19 Total |
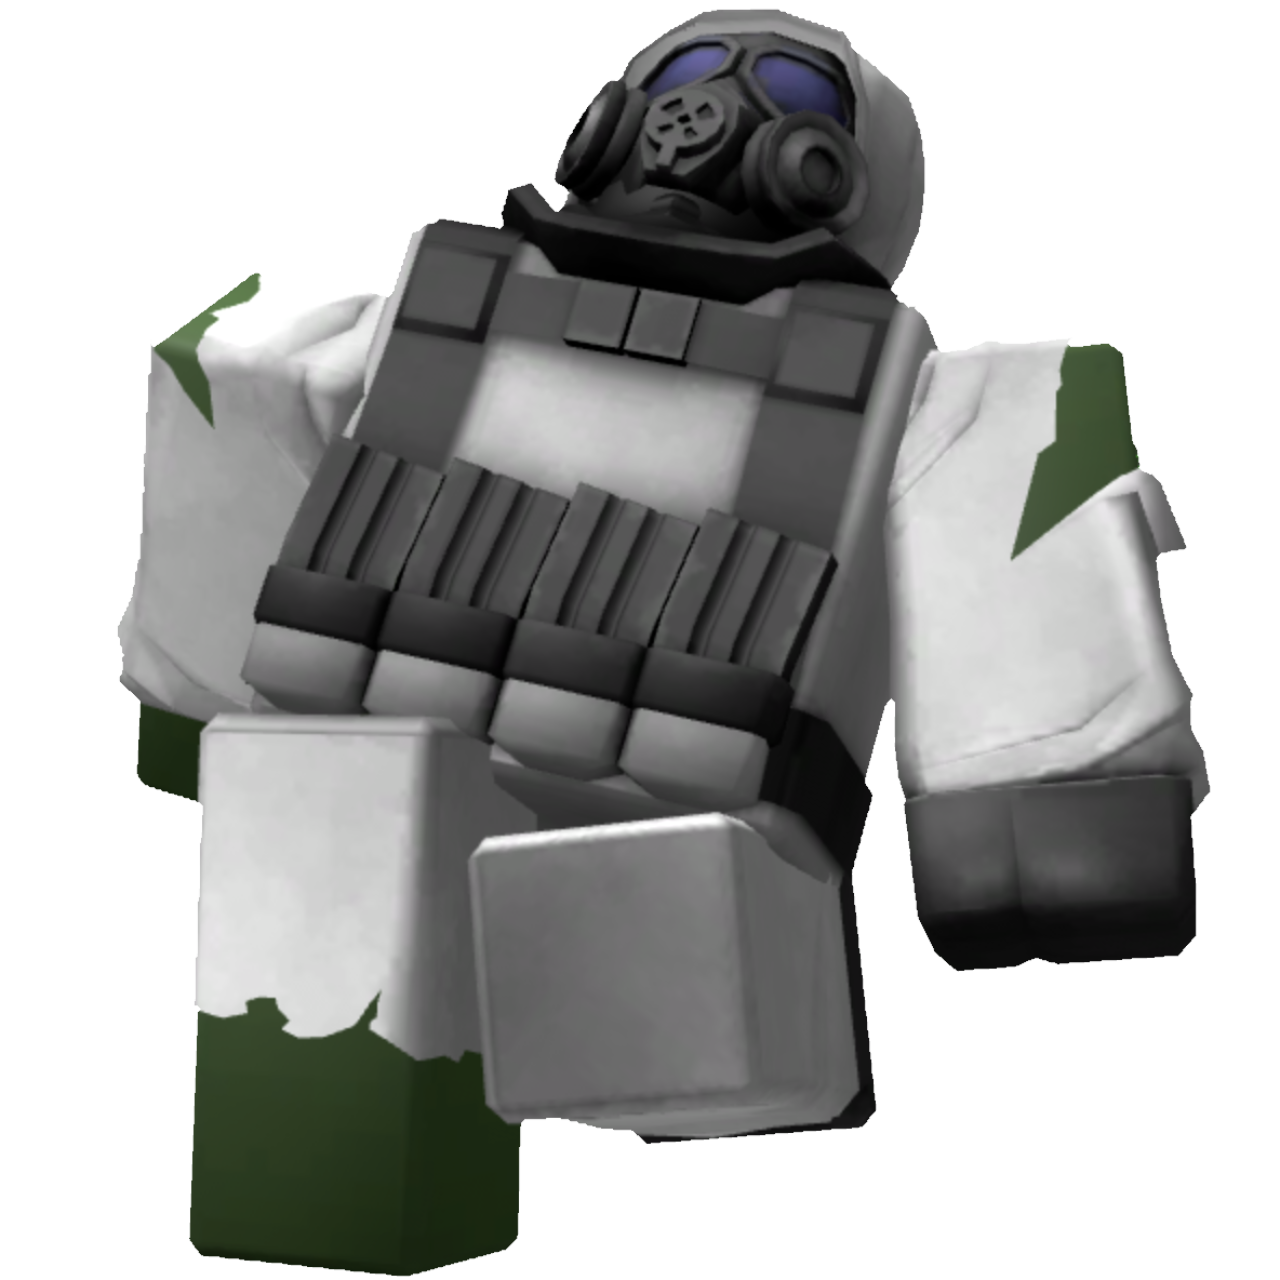
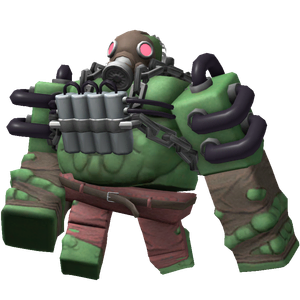
Elite Hazmat Wave 17 95 Total |
 |
 |
 |
 |
| Speedy Boss Wave 19 68 Total |
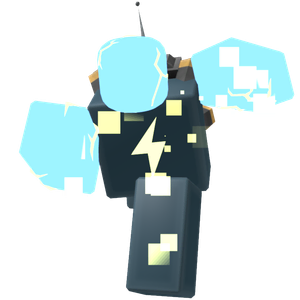
Circuit Wave 21 75 Total |
Giant Boss Wave 25 37 Total |
Necrotic Skeleton Wave 26 41 Total |
 |
 |
 |
 |
| Breaker4 Wave 26 68 Total |
Breaker3 N/A[4] 204 Total |
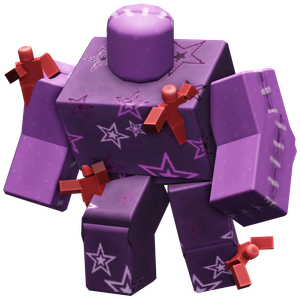
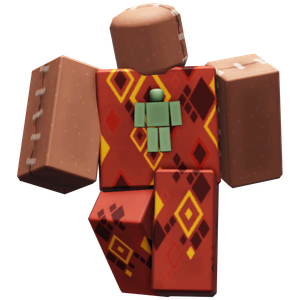
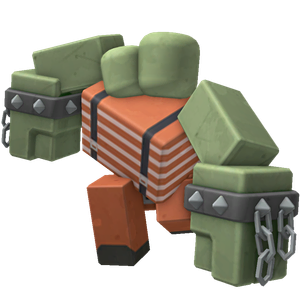
Tanker Wave 28 11 Total |
Necromancer King Wave 30 8 Total |
 |
 |
 |
 |
| Giant Skeleton N/A[5] N/A Total |
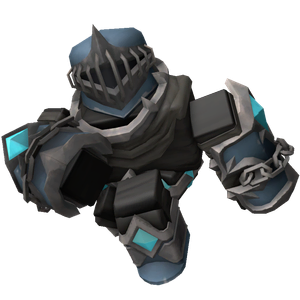
Fallen Tank Wave 31 5 Total |
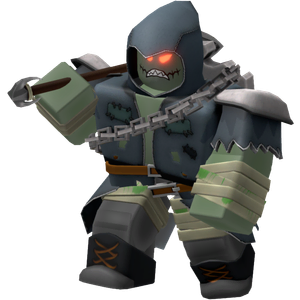
Brute Wave 33 3 Total |
Grave Digger Wave 35 1 Total |
 |
 |
 |
 |
| Normal N/A[6] N/A Total |
Speedy N/A[6] N/A Total |
Slow N/A[6] N/A Total |
Normal Boss N/A[6] N/A Total |
 |
 |
 | |
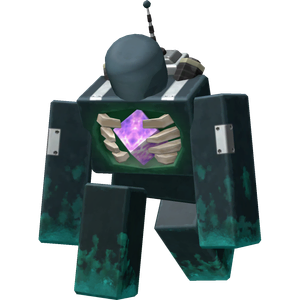
| Hazmat N/A[6] N/A Total |
Warden Wave 39 5 Total |
Champion Templar Wave 40 1 Total |
Wave Structure
Currently, Challenge Trials has two wave bonuses, based on the current wave. Between waves 1 to 30, the wave bonus is calculated as:


Between waves 31 and 40, it is calculated as:
Depending on player count, the wave bonus is reduced using multipliers. These multipliers are:
| Players | Reduction per Player | Total Reduction |
|---|---|---|
| Solo | 0% | 0% |
| Duo | 5% | 10% |
| Trio | 5% | 15% |
| Quad | 10% | 40% |
Wave clear bonus is 40% in solo and 20% in duo or higher.
The waves in Challenge Trials mode follow these timings:
| Waves | Wave Timer | Skip Time[7] |
|---|---|---|
| 1-6 | 1:00 | 0:20[8] |
| 7 | 1:10 | 0:23[9] |
| 8-9 | 1:00 | 0:20[8] |
| 10-19 | 1:20 | 0:26[10] |
| 20-21 | 1:30 | 0:30[11] |
| 22-30 | 1:40 | 0:33[12] |
| 31-39 | 2:00 | 0:40[13] |
| 40 | ∞ | N/A |
| Wave | Commander Dialogue | Enemy Type & Amount | |
|---|---|---|---|
| 1 |  |
This is urgent! A large group of enemies are heading this way! | 5x Abnormal |
 |
I'm sorry for the short notice, but we need you now more than ever. | ||
| 2 | - | 8x Abnormal | |
| 3 |  |
So far so good, but don't get too comfortable. | 6x Abnormal, 4x Quick |
 |
We don't know what they're planning. | ||
| 4 | - | 8x Quick, 6x Abnormal | |
| 5 |  |
The reports didn't mention anything special. | 8x Abnormal, 3x Heavy |
 |
But if that's the case, why are there so many? | ||
| 6 | - | 6x Heavy | |
| 7 | |
Here comes the first boss! | 12x Quick, 1x Elite Abnormal (Boss) |
| |
Make sure our units are ready! | ||
| 8 | - | 12x Heavy (Stun Immune, Freeze Immune) | |
| 9 | |
More enemies incoming! | 1x Elite Abnormal (Stun Immune, Freeze Immune), 6x Heavy (Bloated) |
| |
It seems like they are intentionally throwing themselves at us, but why? | ||
| 10 | - | 1x Elite Abnormal (Stun Immune, Freeze Immune), 5x Breaker2, 6x Heavy | |
| 11 | - | 2x Elite Abnormal (Stun Immune, Freeze Immune), 7x Armored | |
| 12 | |
There's a necromancer nearby! | 2x Elite Abnormal (Stun Immune, Freeze Immune), 10x Breaker2 (Bloated), 1x Necromancer (Stun Immune, Freeze Immune) |
| |
I'm getting a bad feeling about this! | ||
| 13 | - | 6x Armored, 1x Necromancer (Stun Immune, Freeze Immune), 4x Armored, 3x Bolt | |
| 14 | - | 8x Breaker2, 2x Necromancer (Stun Immune, Freeze Immune), 6x Bolt | |
| 15 | |
Is that a Living Experiment? | 15x Heavy, 1x Elite Abnormal (Stun Immune, Freeze Immune), 4x Breaker2, 1x Living Experiment (Boss) |
| |
What is Patient Zero's creature doing here? I have to report this ASAP. | ||
| 16 | - | 4x Breaker2, 1x Living Experiment (Aggro), 16x Breaker2 | |
| 17 | |
They way they're moving is almost like a tier system. | 5x Elite Hazmat, 5x Bolt, 5x Elite Hazmat, 5x Bolt |
| |
It's less like we're defending and more like we're being...tested. | ||
| 18 | - | 7x Elite Hazmat, 1x Living Experiment, 7x Armored, 1x Living Experiment, 7x Armored | |
| 19 | |
Speedy Boss coming in! Watch out! | 3x Elite Abnormal (Stun Immune, Freeze Immune), 10x Bolt, 8x Elite Hazmat, 1x Speedy Boss (Stun Immune, Freeze Immune), 5x Bolt |
| |
Our defenses should take care of them. | ||
| 20 | - | 5x Elite Hazmat, 10x Breaker2, 1x Living Experiment, 3x Necromancer (Stun Immune, Freeze Immune), 1x Living Experiment, 10x Bolt | |
| 21 | |
They're starting to use Circuits now! | 1x Living Experiment (Stun Immune, Freeze Immune), 3x Bolt, 1x Circuit, 8x Breaker2, 1x Living Experiment (Stun Immune, Freeze Immune), 4x Elite Abnormal (Stun Immune, Freeze Immune), 10x Armored, 3x Necromancer (Stun Immune, Freeze Immune), 3x Bolt, 1x Circuit |
| |
Circuits will speed up other enemies when they die. Don't be caught off guard. | ||
| 22 | - | 5x Circuit, 1x Living Experiment, 10x Elite Hazmat, 1x Living Experiment, 5x Circuit | |
| 23 | |
A massive group of enemies are moving towards us. | 3x Circuit, 4x Elite Hazmat, 2x Living Experiment, 3x Circuit, 4x Elite Hazmat, 3x Living Experiment, 4x Elite Hazmat |
| |
We must have held out longer than they've expected. Anything could happen now. | ||
| 24 | - | 10x Elite Hazmat, 2x Living Experiment, 6x Circuit, 3x Speedy Boss (Stun Immune, Freeze Immune) | |
| 25 | |
A Giant Boss is here! | 2x Speedy Boss (Stun Immune, Freeze Immune), 1x Giant Boss (Boss), 8x Elite Hazmat, 1x Living Experiment, 2x Speedy Boss (Stun Immune, Freeze Immune), 1x Living Experiment |
| |
Stand your ground! | ||
| 26 | - | 3x Speedy Boss (Stun Immune, Freeze Immune), 1x Necrotic Skeleton, 8x Breaker4, 1x Giant Boss, 1x Necrotic Skeleton, 5x Circuit | |
| 27 | - | 1x Giant Boss, 5x Elite Hazmat, 1x Speedy Boss (Stun Immune, Freeze Immune), 3x Necrotic Skeleton, 4x Necromancer (Stun Immune, Freeze Immune), 3x Circuit | |
| 28 | |
We might need more units for the Tankers and Giant Bosses! | 2x Tanker, 3x Giant Boss |
| |
Yeah, definitely more units! | ||
| 29 | - | 2x Speedy Boss (Stun Immune, Freeze Immune, Bloated), 10x Circuit, 12x Elite Hazmat (Bloated), 2x Speedy Boss (Stun Immune, Freeze Immune, Bloated), 6x Necrotic Skeleton | |
| 30 | |
We've picked up a Necromancer Boss nearby! | 3x Giant Boss (Corpse), 3x Necrotic Skeleton, 2x Speedy Boss (Stun Immune, Freeze Immune, Bloated), 1x Necromancer King (Boss) |
| |
Watch out for their summons! | ||
| 31 | - | 3x Necrotic Skeleton (Bloated), 4x Giant Boss (Bloated), 8x Circuit, 8x Elite Hazmat (Bloated), 1x Fallen Tank | |
| 32 | - | 5x Speedy Boss (Stun Immune, Freeze Immune, Bloated), 1x Necromancer King, 10x Breaker4, 1x Necromancer King 3x Necrotic Skeleton (Bloated) | |
| 33 | |
Is that a...Brute? | 3x Speedy Boss (Stun Immune, Freeze Immune, Bloated), 7x Necrotic Skeleton (Bloated), 1x Brute (Boss, Nimble) |
| |
What's a Brute doing here?! | ||
| 34 | - | 4x Giant Boss (Bloated), 8x Breaker4 (Nimble), 8x Circuit, 1x Necrotic Skeleton (Bloated), 10x Speedy Boss (Stun Immune, Freeze Immune), 1x Necrotic Skeleton (Bloated), 6x Breaker4 (Nimble) | |
| 35 | |
No! It can't be! | 15x Breaker4, 2x Giant Boss, 1x Tanker, 3x Necromancer (Stun Immune, Freeze Immune), 1x Grave Digger |
| |
Grave Digger?! | ||
| 36 | - | 1x Tanker, 6x Circuit (Bloated), 8x Speedy Boss (Stun Immune, Freeze Immune, Bloated), 6x Circuit (Bloated), 1x Fallen Tank, 1x Necromancer King | |
| 37 | |
I never expected to see two brutes at once! | 1x Brute (Stun Immune, Freeze Immune, Nimble), 5x Giant Boss, 6x Necrotic Skeleton (Bloated, Nimble), 1x Necromancer King, 1x Brute (Stun Immune, Freeze Immune, Nimble) |
| |
Let’s show them what they’re up against! | ||
| 38 | - | 1x Necromancer King, 5x Circuit (Bloated), 1x Tanker, 1x Fallen Tank, 6x Speedy Boss (Stun Immune, Freeze Immune, Bloated), 1x Tanker, 5x Breaker4 (Nimble), 1x Tanker | |
| 39 | - | 1x Necromancer King, 1x Warden (Corpse), 8x Speedy Boss (Stun Immune, Freeze Immune, Bloated), 1x Warden, 5x Giant Boss, 12x Breaker4 (Nimble) | |
| 40 | |
This is it! It appears these enemies were being led by the Champion Templar! | 1x Tanker, 3x Necrotic Skeleton (Bloated), 8x Breaker4, 1x Warden, 3x Necrotic Skeleton (Bloated), 2x Fallen Tank, 4x Giant Boss (Bloated), 5x Speedy Boss (Stun Immune, Freeze Immune, Corpse), 8x Breaker4, 5x Speedy Boss (Stun Immune, Freeze Immune, Corpse), 8x Breaker4, 3x Tanker, 8x Breaker4, 2x Warden, 1x Champion Templar, 4x Giant Boss, 1x Necromancer King |
| |
Champion Templar only challenges those it deems worthy. | ||
| |
Let's give him a fight he'll remember! | ||
| Lose Dialogue | |||
   |
One icon and dialogue is randomly chosen upon defeat:
•We're toast! | ||
Soundtracks
Wave 1-9, Wave 10-15 & Wave 16-22
These soundtracks can be randomly chosen to play between these waves.
-
YouTube Upload
-
In-Game Version
-
YouTube Upload
-
In-Game Version
-
YouTube Upload
-
In-Game Version
-
(Official) Tower Defense Simulator OST - Ground Zero



Wave 23-29
These soundtracks can be randomly chosen to play between these waves.
-
Tower Defense Simulator OST - Metaverse (Giga AJ)
-
YouTube Upload
-
In-Game Version
-
YouTube Upload
-
In-Game Version



Wave 30-34 & 35-39
These soundtracks can be randomly chosen to play between these waves.
-
(Official) Tower Defense Simulator OST - Hellfire
-
(Official) Tower Defense Simulator OST - Toilet Story
-
(Official) Tower Defense Simulator OST - Catharsis

Final Wave
This soundtrack is played on the final wave.
-
(Official) Tower Defense Simulator OST - Sudden Death
Trivia
- Challenge Trials is the first game mode since Polluted Wasteland II to release with only Elevators, and Matchmaking had since been implemented for this game mode in V2.4.0.
Update History
- 24 September 2025 - v1.75.0
- Challenge Trials added, replacing Challenge Maps.
- 24 September 2025 - v1.75.1
- Enabled Skills.
- Bug: Only enabled in Speedy Enemies.
- Enabled Skills.
- 24 September 2025 - v1.75.4
- Wave structure changed.
- Health scaling updated.
- Duo now has health scaling of 10%.
- Trio health scaling increased from 20% to 25%.
- Bugfix: Skills are now enabled everywhere.
- 25 September 2025 - v1.75.6
- Glass trial map changed from Mason Arch to Stained Temple.
- 1 October 2025 - v1.76.0
- Corrected Limitation Makes Creativity trial description. Previously, it incorrectly stated that it sets the placement limit to 20 while also removing individual tower placement limits.
- 5 June 2026 - v2.0.0
- Wave skip now appears after one third of the wave has passed instead of after 20 seconds.
Notes
- ↑ Does not appear naturally, it can only be spawned by the Breaker2.
- ↑ Does not appear naturally, it can only be spawned by the Necromancer and Grave Digger.
- ↑ Number is natural spawns. Number can be exceeded if spawned by the Grave Digger.
- ↑ Does not appear naturally, it can only be spawned by the Breaker4.
- ↑ Does not appear naturally, it can only be spawned by the Necromancer King.
- ↑ 6.0 6.1 6.2 6.3 6.4 Does not appear naturally, it can only be spawned by the Grave Digger.
- ↑ How long you have to wait before you can skip.
- ↑ 8.0 8.1 Skip at 0:40.
- ↑ Skip at 0:47.
- ↑ Skip at 1:54.
- ↑ Skip at 1:00.
- ↑ Skip at 1:07.
- ↑ Skip at 1:20.

| Gamemodes | |
|---|---|
| Survival | Easy Mode • Casual Mode • Intermediate Mode • Molten Mode • Fallen Mode (Hidden Wave) • Frost Mode • Challenge Trials |
| Hardcore | Hardcore Mode • Voidcore Mode |
| Special Maps | Polluted Wasteland II • Badlands II • Pizza Party |
| Sandbox Only | Sandbox Mode • Legacy Molten Mode • Golden Mode • Legacy Fallen Mode |
| Other | Tutorial • Story Mode • PVP |
| Removed | Versus • Pre-MEGA Modes • Legacy Hidden Wave • PVP Test |
| Waves | |
|---|---|
| Survival | Easy Mode • Casual Mode • Intermediate Mode • Molten Mode • Fallen Mode • Frost Mode • Challenge Trials |
| Hardcore | Hardcore Mode • Voidcore Mode |
| Sandbox Only | Golden Mode |
| Special Maps | Polluted Wasteland II • Pizza Party |
| Removed | Pre-MEGA Modes • PVP Test |
| Rewards | |
|---|---|
| Survival | Easy Mode • Casual Mode • Intermediate Mode • Molten Mode • Fallen Mode • Frost Mode |
| Hardcore | Hardcore Mode • Voidcore Mode |
| Special Maps | Polluted Wasteland II • Badlands II • Pizza Party |