Nil Zone II
Nil Zone II has been removed from the game as of the 5th of October 2026 as it was part of the Halloween 2026 Live Events.
This page has been preserved for historical purposes.
Description
Nil Zone II was the the map for the Halloween 2026 Live Events. Just like other event maps, this map had a specialized wave structure with special enemies. Players started with a varying amount of cash, based on the difficulty chosen. It had no unique rewards other than the Banned Crate, which could only be gotten every 24 hours from triumphs. Logbooks were disabled on this map.
Cash was only rewarded if an enemy was killed, or in some cases, damaged by a specific amount of health. Additionally, the amount gained was a set amount of cash, which was not always equal to the enemy's health. Enemies split their cash between players, regardless of how much damage the player dealt to it. If, in a duo, one player did all the damage to an enemy, both players would receive 50% of the cash the enemy would normally give in solo. This means that in solo, you received 100% of the cash when an enemy was killed, or it was damaged enough. With each additional player, this was reduced to 50% in duo, 33% in trio and 25% in quad. If it was a decimal number, it got rounded up or down depending on the decimal value. If it was at least 0.5, it got rounded up. If it was less than 0.5, it got rounded down.
Design & Path
Nil Zone II took place on a desolate corrupted area in the middle of nowhere. It was made out of purple Roblox parts with studs and purple binary on them. This area was surrounded by multiple pillars, which either had moving orange cogs on them or giant hands. Behind the entrance, there was also a large tower placed on nothing with a cog at the front of it.
The path started and ended at a white portal. The map took a short straight path which lead into two u-turns, ending with another short straight path that lead to the exit.
Interactive Map
Preset Loadouts
Each player was allowed to pick from one of three preset loadouts. Alongside these preset options, players could opt to use their current loadout as the first choice. However, if one's loadout contained no towers, this option would be unavailable, these remained the same for both events.


Rewards
The game calculated how many 

Any rewards that end in a decimal point is rounded down, no matter the first figure of the leading decimal.
Rewards are calculated as:
| Coins Reward | EXP Reward |
|---|---|
| |
|
Additionally, there is an additional reward of a Banned Crate being given out on triumph. However, this is only given out every 24 hours. Additionally, Logbooks cannot be obtained from this mode.
Badges
There was also a badge which could be obtained when playing this map:

Wave Structure
Bolded names indicate an enemy type's debut.


Strategy
- Splash towers capable of dealing with hordes such as Demoman, Rocketeer, Pulse Trooper and Mortar can be quite useful given the path layout and the considerably high health of enemies in the early waves.
- Alternatively, towers that can stun enemies such as Electroshocker and Tesla are also valuable.
- Having two players with DJ Booth, although not required, is recommended given the large amounts of enemies that may cluster through those two paths connected to each other.
Gallery
Icons
-
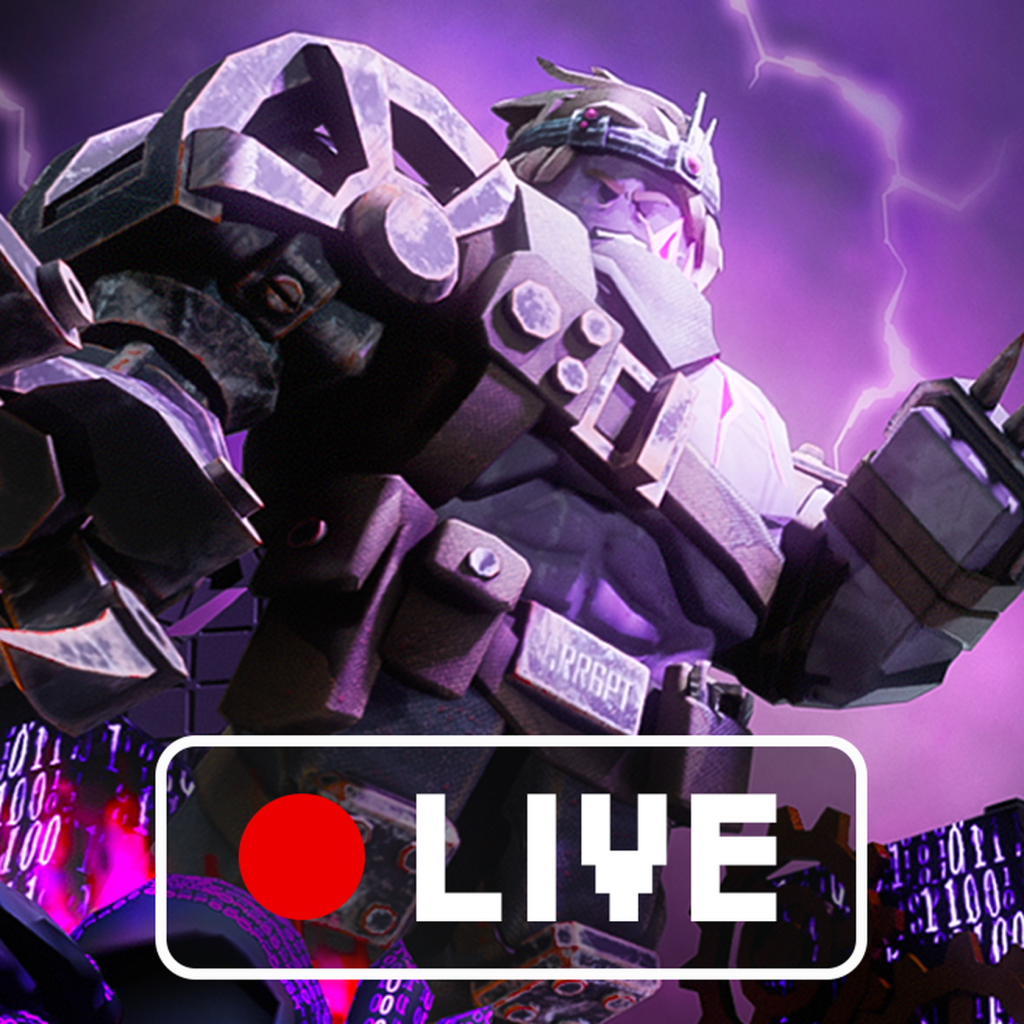
 Nil Zone II on the game icon.
-
 Nil Zone II on the game icon.
-
 Nil Zone II on the game icon.
-
 Nil Zone II on the game icon.
-
 Nil Zone II on the game icon.
-
 Nil Zone II on the game icon.
-
 Nil Zone II on the game icon.
-
 Nil Zone II on the game icon.
-
 Nil Zone II on the game icon.
-
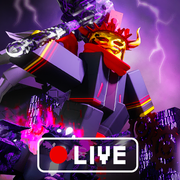 Nil Zone II on the game icon.
-
 Nil Zone II on the game icon.
-
 Nil Zone II on the game icon.
-
 Nil Zone II on the game icon.
-
 Nil Zone II on the game icon.
-
 Nil Zone II on the game icon.
-
 Nil Zone II on the game icon.
-
 Nil Zone II on the game icon.
-
 Nil Zone II on the game icon.
-
 Nil Zone II on the game icon.
-
 Nil Zone II on the game icon.


Promotional Images
-
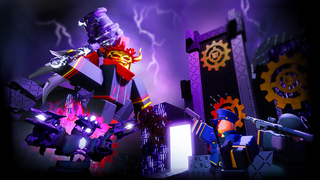 Nil Zone II on a promotional image.
-
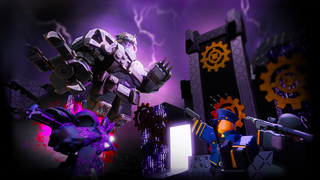 Nil Zone II on a promotional image.


Trivia
- Nil Zone II is a re-adjusted version of the Nil Zone map from the Halloween 2025 Live Events, retaining various parts of it like general look and the path layout, though it has been slightly adjusted to better fit the Halloween event for 2026.
Update History

| PVP | ||
|---|---|---|
| Easy | Crash Course • Judging Hall • Laser Stadium • Warm Land | |
| Normal | Desert Oasis • Distant Shapes • Opulent Remains | |
| Sandbox Mode | ||
|---|---|---|
| Hard | Classic Candy Cane Lane • Classic Castle • Classic Forest Camp • Classic Island Chaos • Classic Winter | |
| Insane | Badlands • Rotfield | |
| Special | Dev • Headache Headquarters | |
| Story Exclusive | ||
|---|---|---|
| Easy | Abandoned City | |
| Normal | Severing Connection • Tutorial | |
| Removed | ||
|---|---|---|
| Undefined | Candy Cane Lane • Doomspire • Island Chaos • Subzero • Castle • Mount Amillion • End of the Line • Canyon • Castle Outskirts • Candy Valley • Fungi Forest • Freight Fright • Graveyard • Winter • Robloxia • Ancient Colosseum • Highlands • Voidlands • PVP | |
| Easy | PVP_1 • PVP_2 • PVP_3 • PVP_4 • PVP_5 • PVP_6 • PVP_7 • PVP_8 • PVP_9 • PVP_10 • PVP_11 | |
| Hard | Polluted Wasteland • Nightmare Carnival | |
| Unreleased | ||
|---|---|---|
| Undefined | Backwoods • Battlefront • Castle Outskirts • Dusty Ruins • Fogged Lair • Fraction Zone • Gingerbread Town • Hallows Ville • Mars • Petulance Ground • Pumpkin Patch • PVP_11 • PVP_3 • PVP_6 • PVP_8 • PVP_9 • Unknown Castle Map • Unreleased Halloween 2020 Map • Unreleased Tournament Map • Waste Ground • Weepers Gaol • Winterfall • WIP City | |