
Boomerang


- Boomerang, you always come back! Throws a boomerang in an arc that pierces multiple enemies.
- ―Inventory Description
Description
The Boomerang is a starter tower bought for 

The Boomerang will lock onto an enemy within its range and aim for 1 second before throwing out a boomerang. This boomerang will travel in an arc and pierces through multiple enemies until it either runs out of enemies to hit or reaches the maximum number of enemies it can hit, where it returns back to the Boomerang. Regardless of how many enemies the Boomerang hit visually, it will always only damage as many enemies as what its max hits is set to. Although setting the targeting is possible and visually, the Boomerang will target enemies based on it, once thrown it will instantly snap back and throw it at the first enemy. This boomerang takes time to travel to an enemy. It will not throw its boomerang again until it has returned to it, meaning its actual firerate is capped based on how long it takes for the boomerang to return.
At Level 3, it will gain a second boomerang, effectively doubling its damage. This will also not function the same as the first one, as it will target the last enemy the first boomerang will hit. For example, if there are six enemies in a line, the Boomerang will throw the first boomerang at the first enemy in the line and the second boomerang at the fifth enemy. They will begin returning to it once the first boomerang hits the fifth enemy in the line and the second boomerang hits the first enemy in the line.
The Boomerang is primarily an early to mid-game AOE tower which from Level 0 can be used to damage Flying enemies and from Level 3+ Lead enemies. It has a placement limit of 12.
Upgrades


+5 Damage 

+1 Range 

Sell Price changes to


2.6 > 1.6 Firerate 

0.4 > 0.3 Boomerang Travel Time
+1 Max Hits
Sell Price changes to


+4 Damage
+1 Range
+1 Boomerang Count
+Lead Detection 

Sell Price changes to


+24 Damage
1.6 > 1.4 Firerate
0.3 > 0.25 Boomerang Travel Time
+1 Max Hits
Sell Price changes to


Statistics
| Level | Cost | Total Cost | Damage | Boomerang Count | Firerate | Throw Delay | Range | Max Hits | Boomerang Travel Time | DPS | Max DPS | Cost Efficiency | Max Cost Efficiency |
|---|---|---|---|---|---|---|---|---|---|---|---|---|---|
| 0 | |
|
7 | 1 | 2.6 | 1 | 14 | 3 | 0.4 | 1.94 | 5.83 | |
|
| 1 | |
|
12 | 1 | 2.6 | 1 | 15 | 3 | 0.4 | 3.33 | 10 | |
|
| 2 | |
|
12 | 1 | 1.6 | 1 | 15 | 4 | 0.3 | 4.62 | 18.46 | |
|
| 3 | |
|
16 | 2 | 1.6 | 1 | 16 | 4 | 0.3 | 12.31 | 49.23 | |
|
| 4 | |
|
40 | 2 | 1.4 | 1 | 16 | 5 | 0.25 | 33.33 | 166.67 | |
|
Skins
To see all the upgrades of a skin, see the gallery page.
 | |
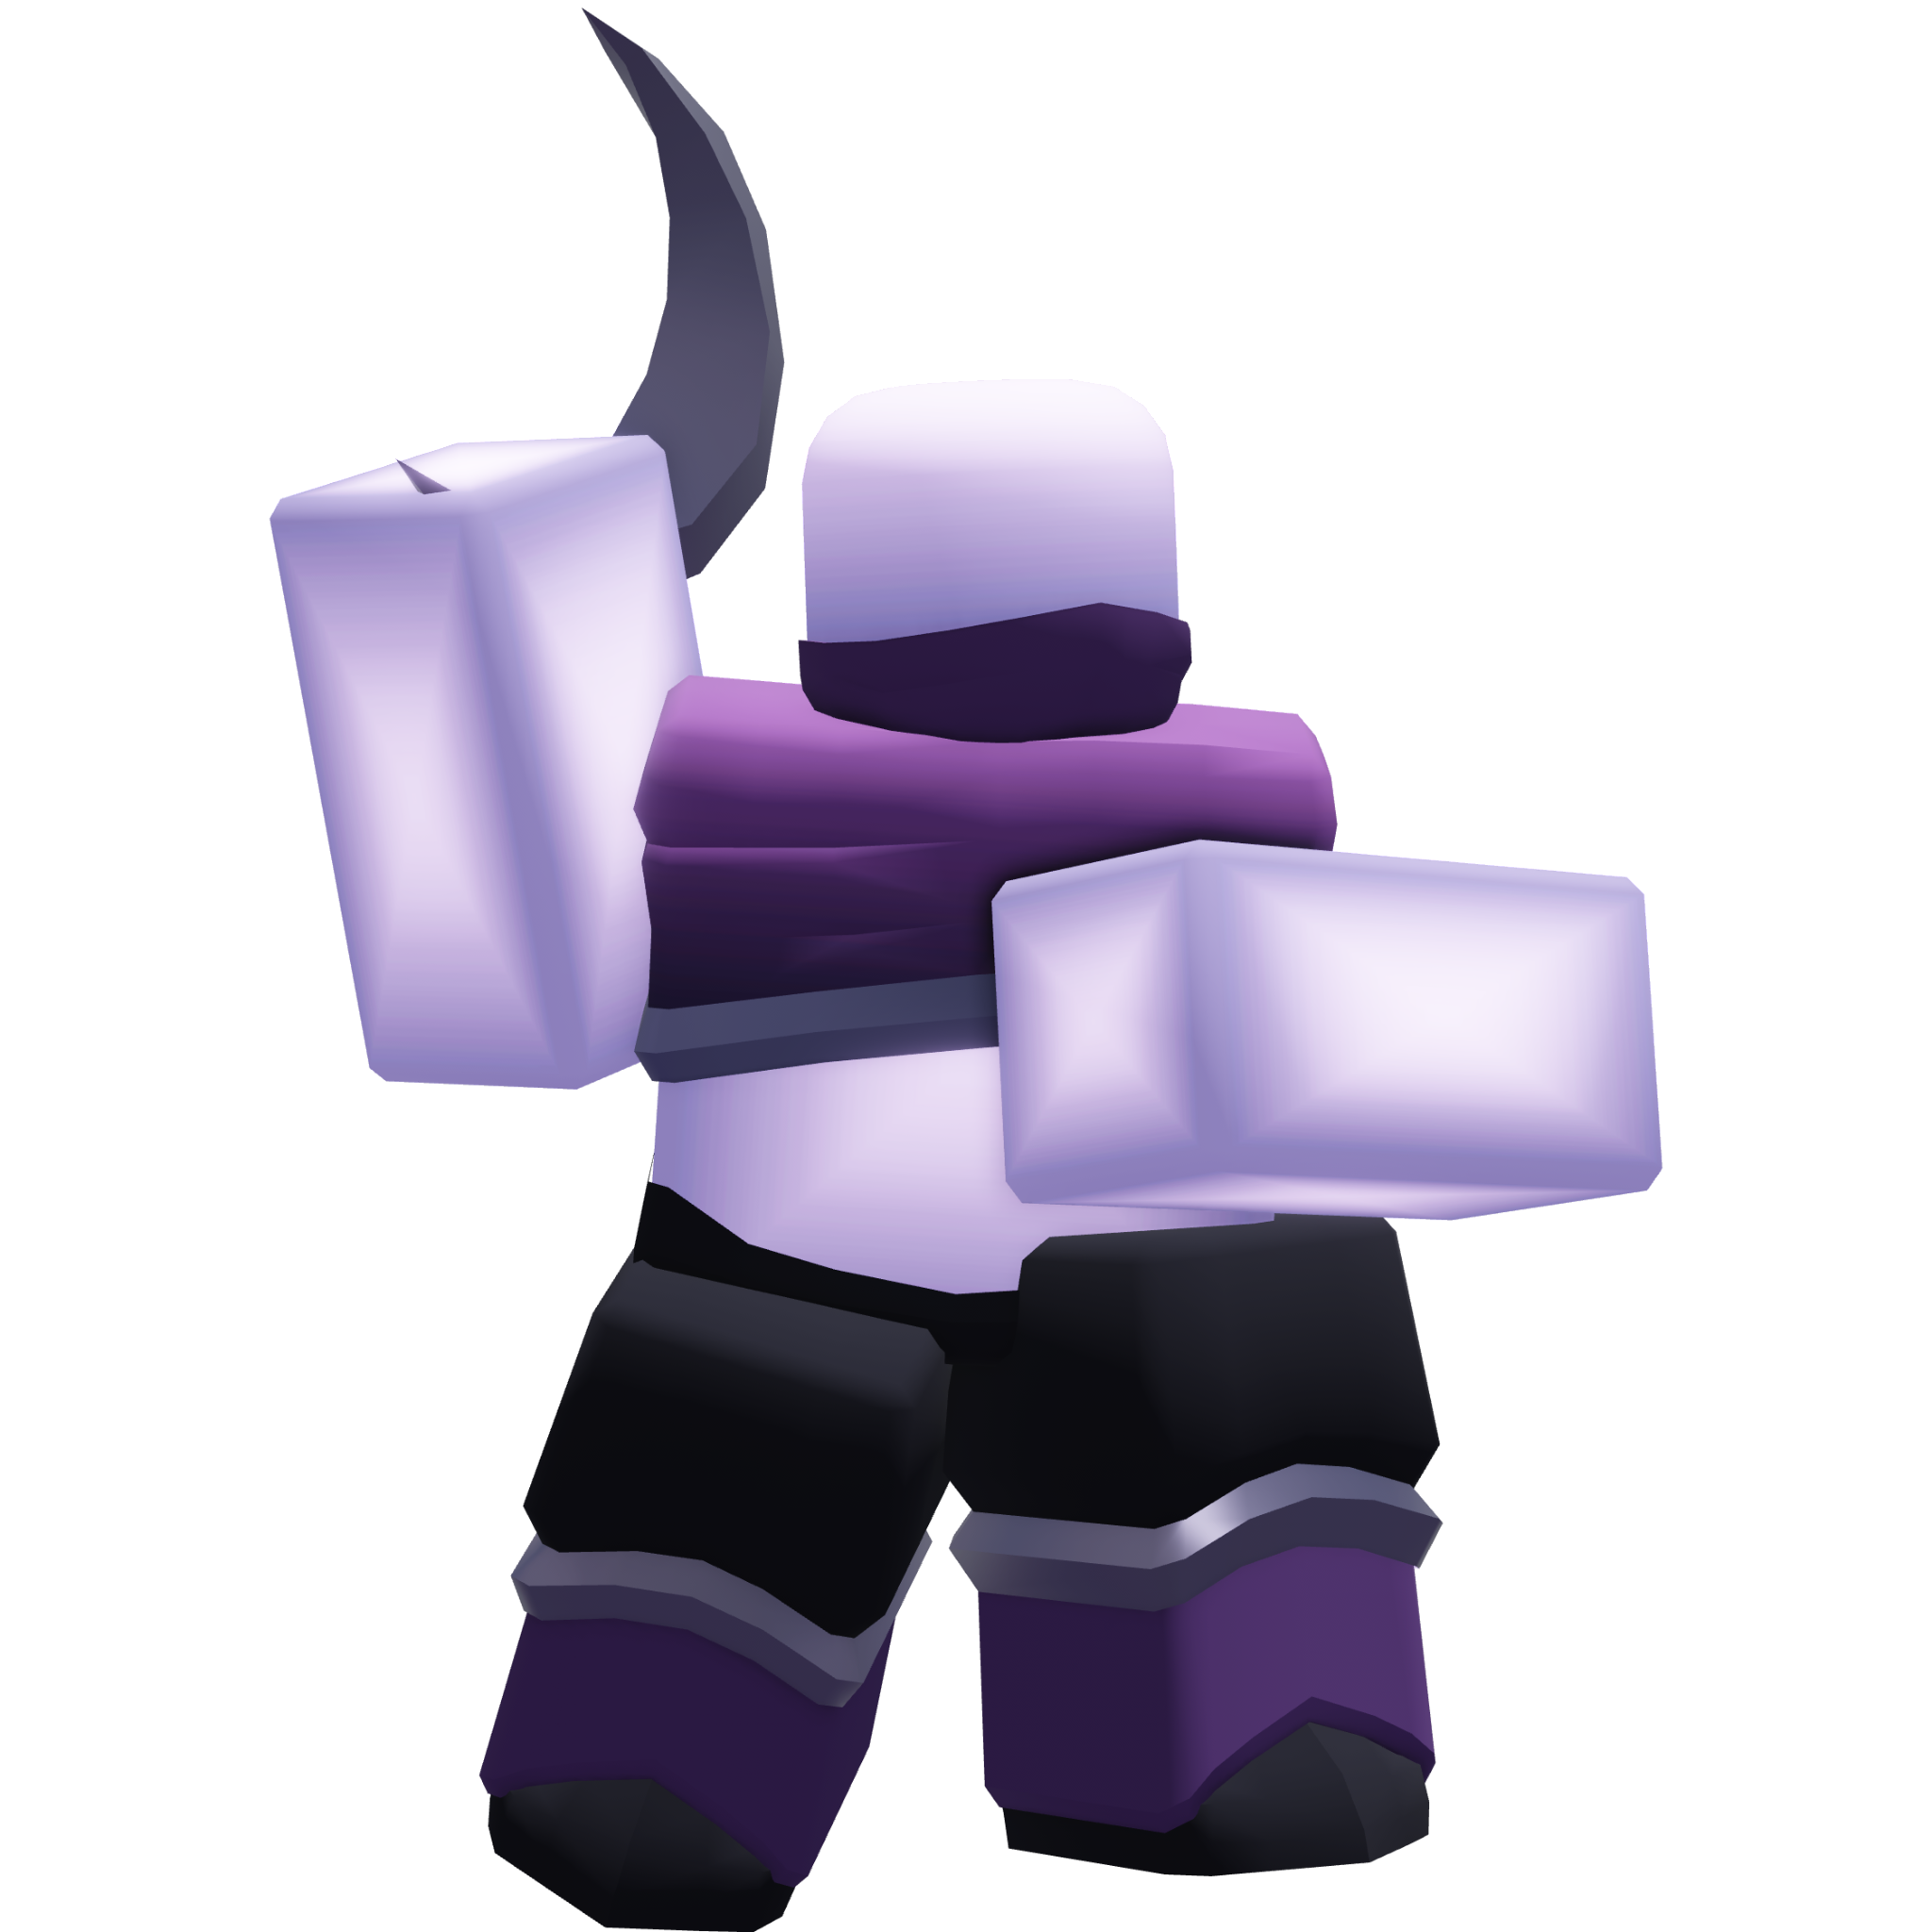
| Skin | Moon |
| Rarity | Uncommon |
| Daily Store Cost | N/A |
| Obtained From | Solar Requiem Regular Battle Pass |
Strategy
- This tower is best placed in areas where it can cover the most of the path.
- Unlike the Executioner, it cannot hit an infinite amount of enemies, meaning positioning it specifically to make it hit as many enemies as possible is not necessary.
- This tower can be used against Lead and Flying enemies, but it will struggle against single high-health ones such as the Frost Mage or the Elite Lead.
Trivia
- The store description of the Boomerang is a reference to the Avatar: The Last Airbender franchise.
- This part of the description was originally used by the Executioner, though it was moved to this tower once it was released.
- The Level 4 upgrade name is a reference to The Lord of the Rings.
- The Boomerang may have been based on the Boomerang Monkey from Bloons Tower Defense.
Update History
Notes
- ↑ Through its boomerang flight pattern, hidden enemies may be hit indirectly if another detectable enemy is nearby, but this tower can never directly target hidden enemies.


| Unit Gallery Pages | |
|---|---|
| Humvee • Humvee 2 • Humvee 3 • Tank • Railgun Tank | |
| Sentry • Rifle Sentry • Minigun Sentry • War Machine Sentry | |
| Pistol Goon • Tommy Goon 1 • Tommy Goon 2 | |
| Golden Pistol Goon • Golden Tommy Goon 1 • Golden Tommy Goon 2 | |
| Gunner APC • Missile APC | |
| Rifleman • Grenadier • Riot Guard • Field Medic | |
| Elf • Snowball Elf • Cannoneer Elf • Bomber Elf • Guardian Elf • Gunner Elf • Gift Bomber • Ripped Elf | |
| Skeleton • Sword Skeleton • Giant Skeleton • Skeleton Knight • Hallow Guard • Executioner Skeleton | |
| Ice Turret | |
| History Pages | |
|---|---|
| Scout • Sniper • Paintballer • Demoman • Slime Trooper • Soldier | |
| Freezer • Assassin • Militant • Shotgunner • Hunter • Pyromancer • Ace Pilot • Medic • Farm • Electroshocker • Rocketeer • Trapper • Pulse Trooper • Military Base • Crook Boss | |
| Commander • Warden • Cowboy • DJ Booth • Tesla • Saboteur • Minigunner • Ranger • Pursuit • Gatling Gun • Turret • Mortar • Mercenary Base | |
| Brawler • Necromancer • Accelerator • Engineer • Hacker | |
| Operator • Kingpin • Juggernaut | |
| Golden Minigunner • Golden Crook Boss • Golden Pyromancer • Golden Scout • Golden Cowboy • Golden Soldier • Golden Snowballer | |
| Gladiator • Commando • Slasher • Frost Blaster • Archer • Swarmer • Toxic Gunner • Sledger • Executioner • Elf Camp • Jester • Cryomancer • Hallow Punk • Harvester • Snowballer • Elementalist • Firework Technician • Biologist • Warlock • Spotlight Tech • War Machine • Mecha Base | |
| Sentry • Twitgunner • Combatant | |